Are you in love with striped walls but live in an apartment or don’t want the hassle of painting? Follow these simple and cheap steps and you’ll have your very own striped wall in no time!
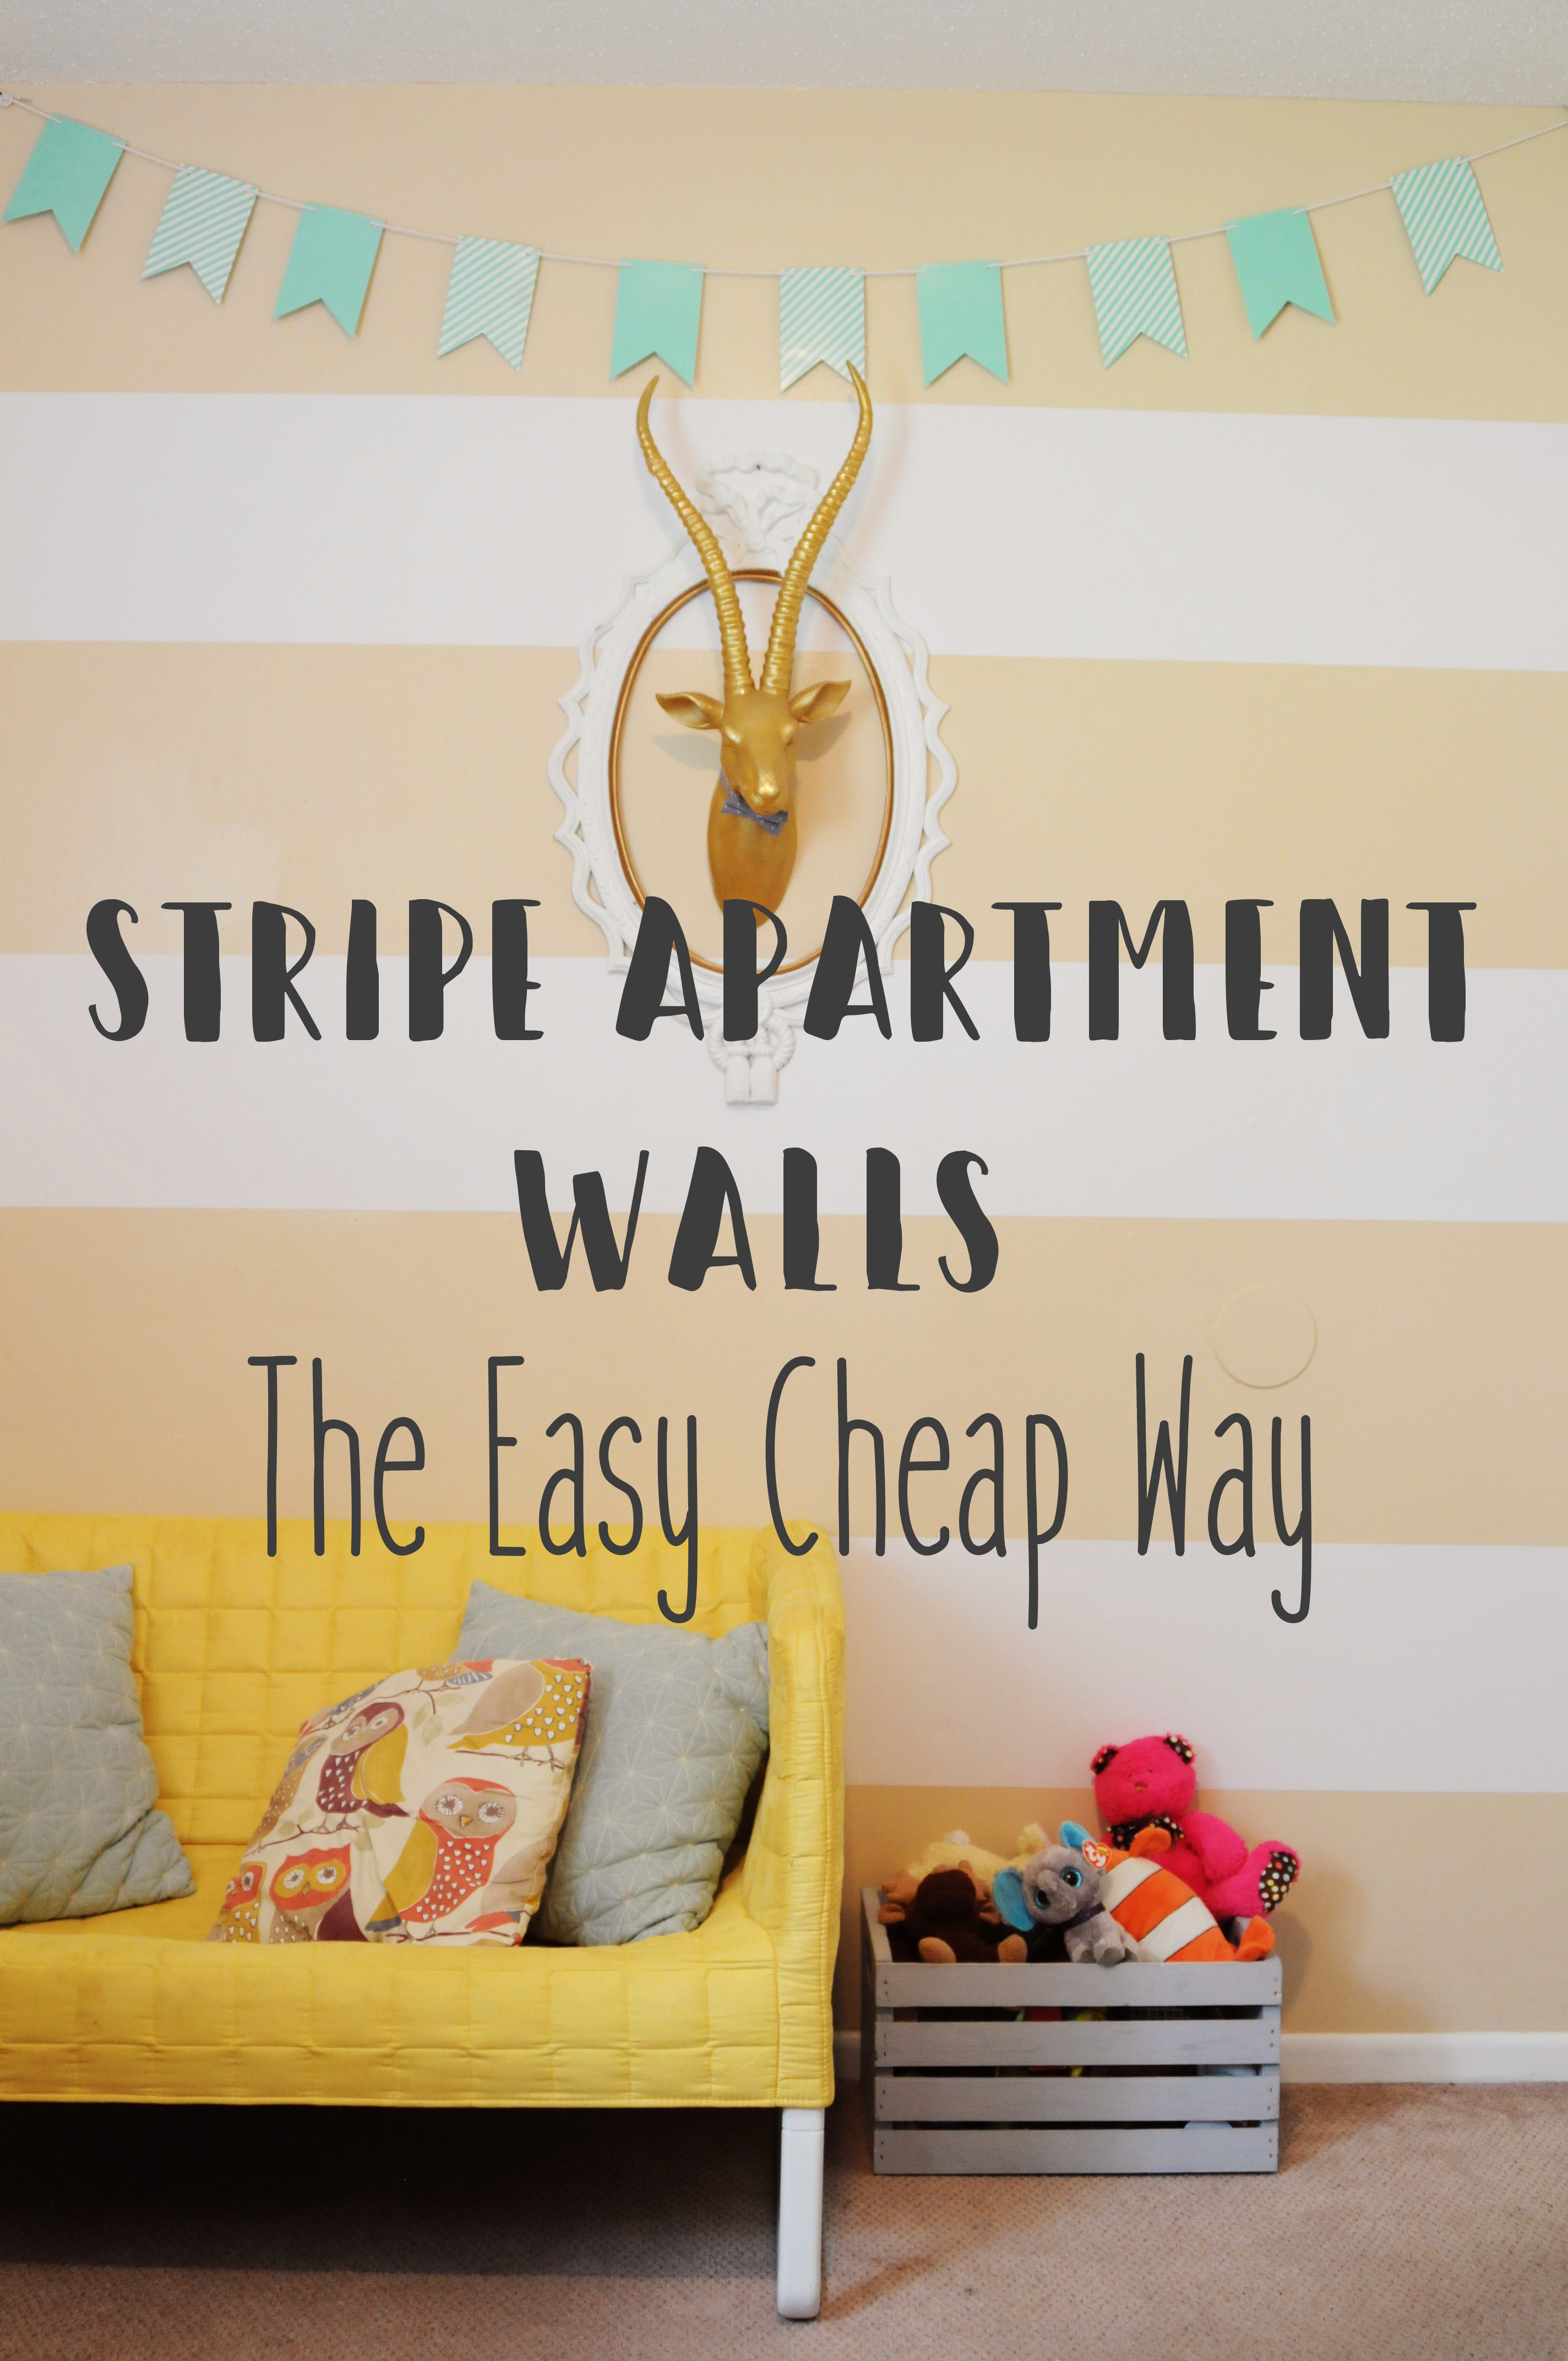
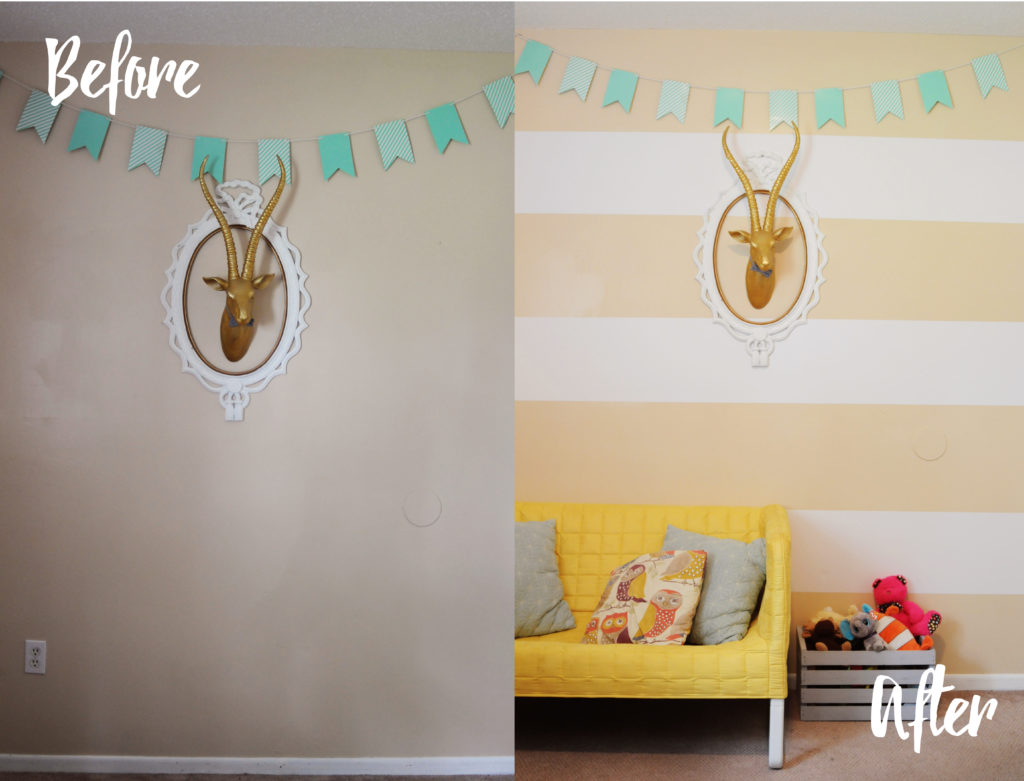
I can spend hours on Pinterest browsing home decor boards. Lately I have been crushing over all the many pins that feature chunky bold striped walls. I live in an apartment so my home decor options are often limited, especially when it comes to the color of my walls. But I really really wanted a striped wall… or two. I came across an online store that sells pre-cut, temporary, ready to go stripes in all the colors you could ever want. I was thrilled, until I went to check out. It was going to cost me about $85 to do one wall with three stripes. I felt like there had to be a cheaper option out there.
In comes trusty old Amazon.com. I discovered this removable vinyl for only $7 a roll. It is 12″ wide and 10 feet long. The wall I wanted to stripe was 8 feet long so I was able to order 3 rolls at only $21, saving me $64! Actually striping the wall was a breeze as well. Although it’s pretty simple, here are some tips and tricks I found that will help make striping your own wall a breeze.
Step One: Buying the Vinyl
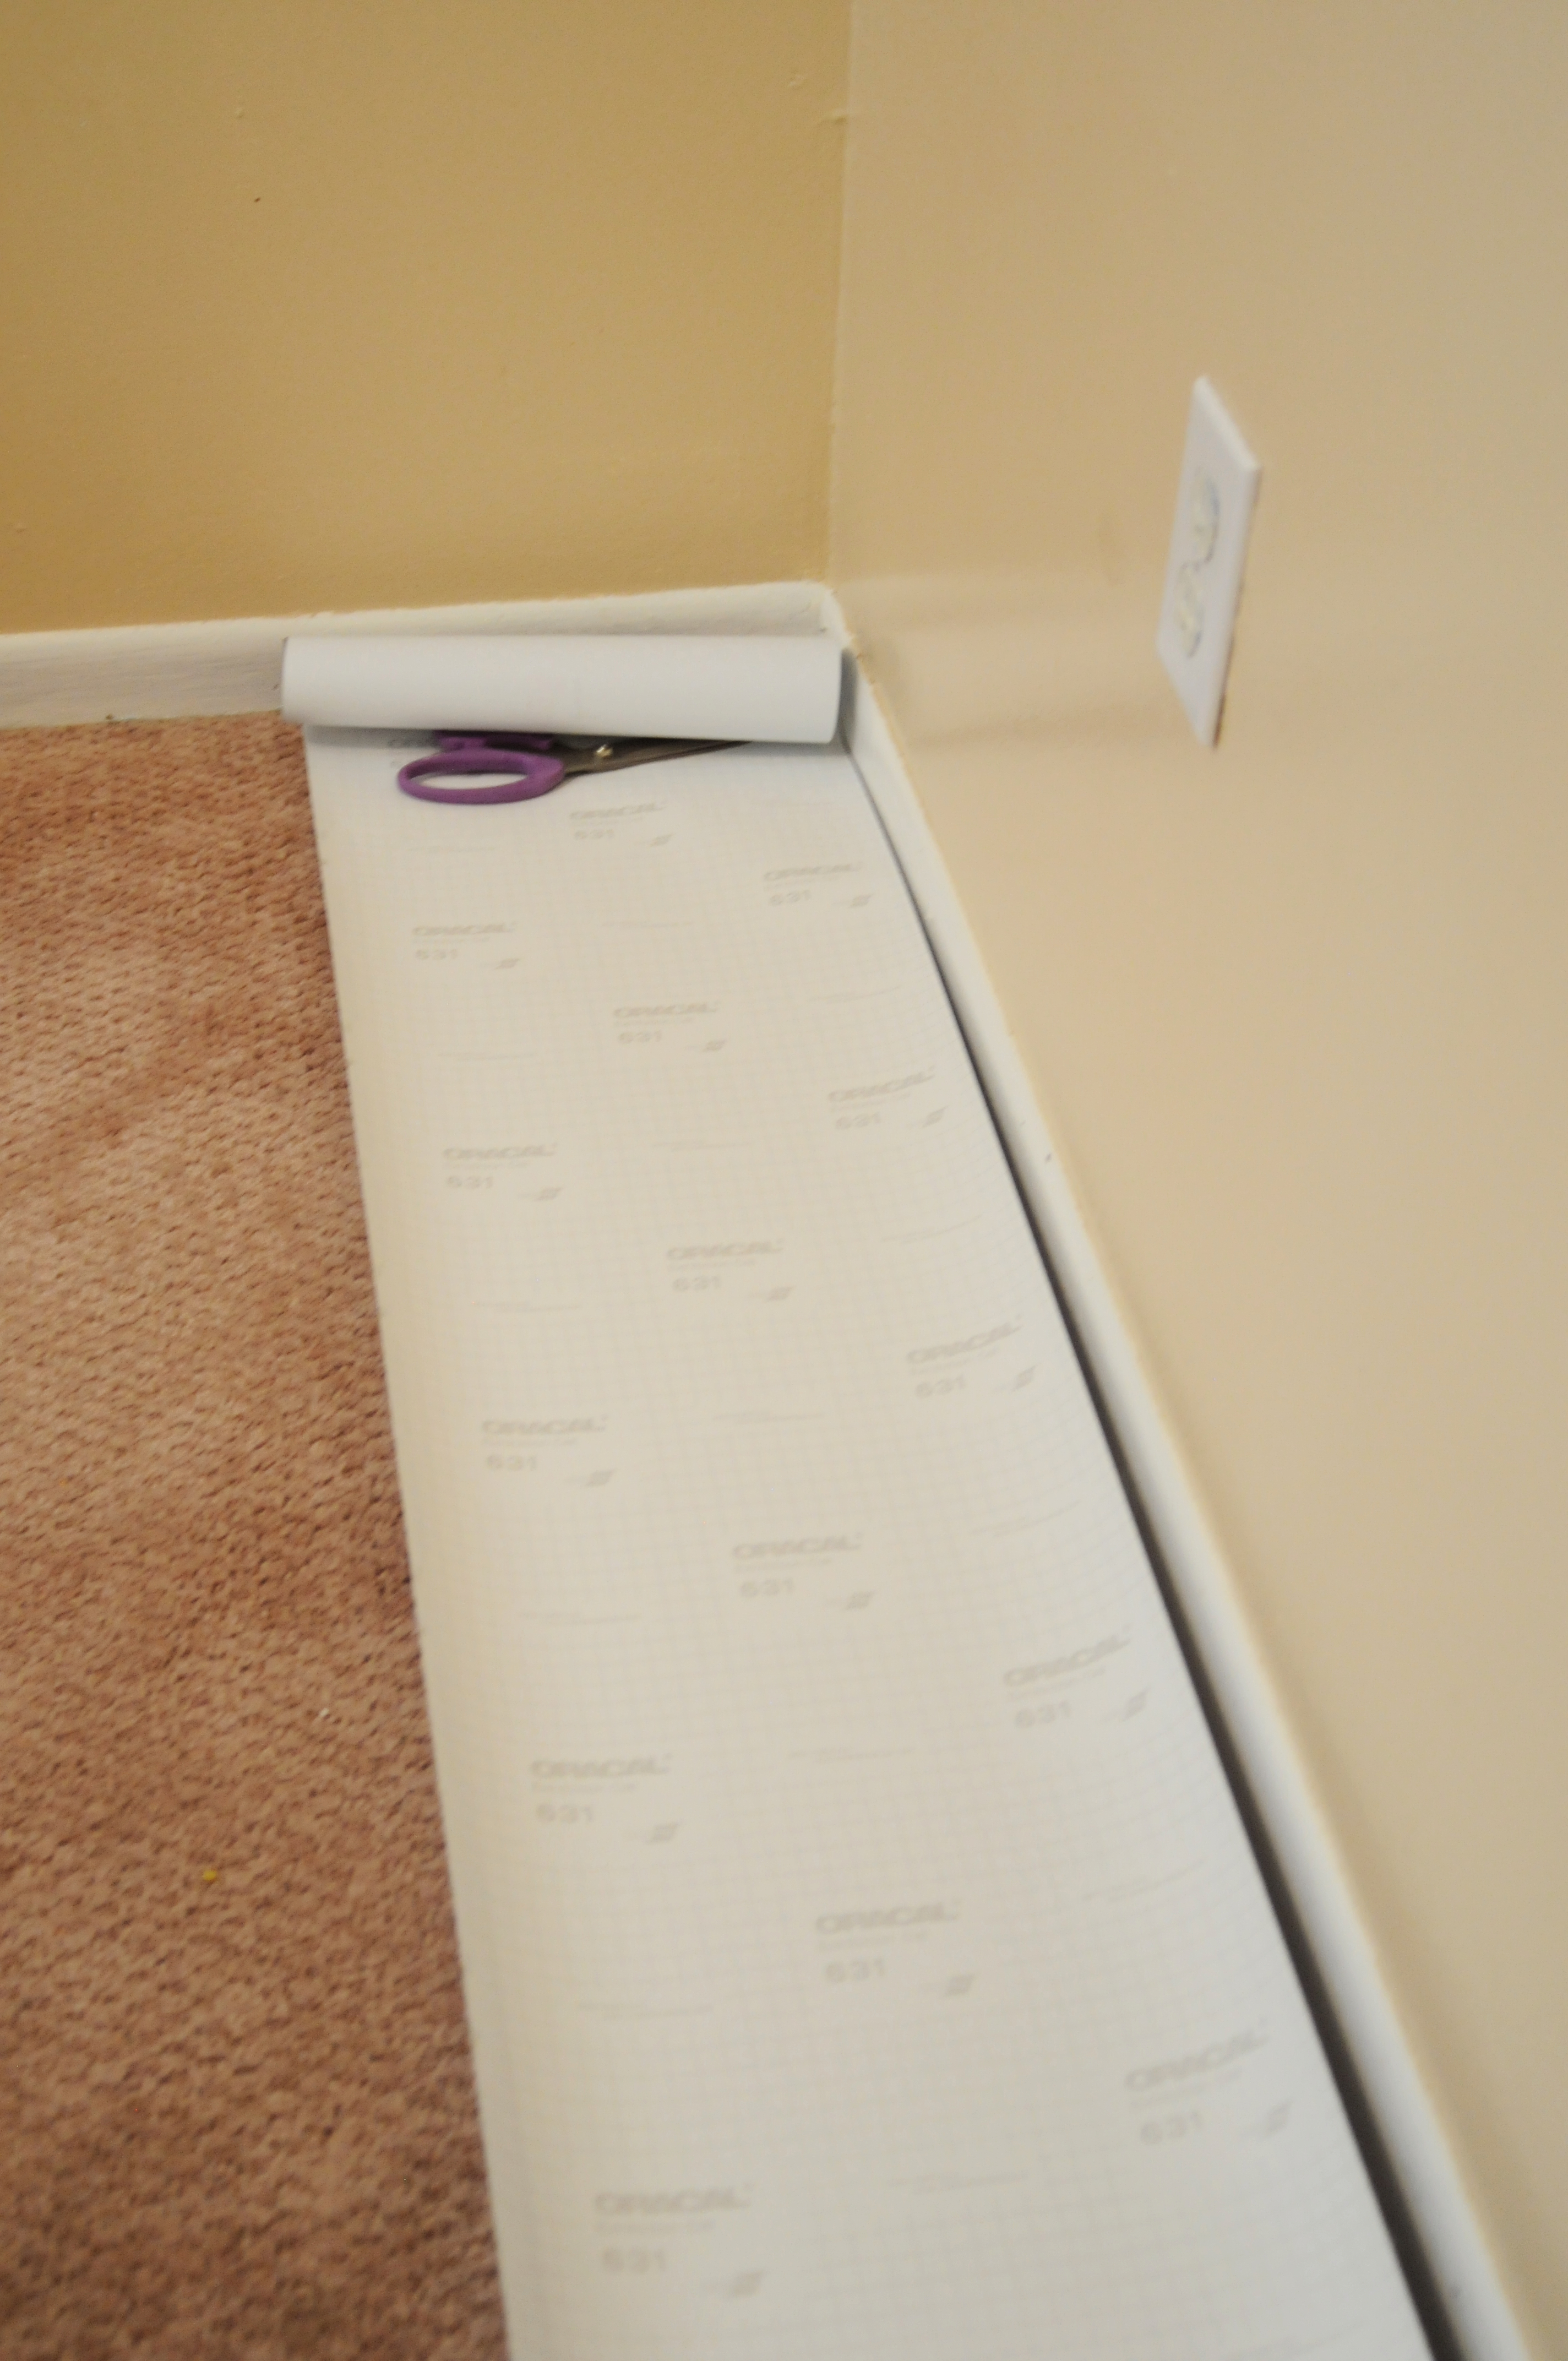
Like mentioned earlier, this is the cheapest vinyl I found online with a great length and width for striping. One tip, as you can see in the picture below, they come shipped with a sticky barcode at the end causing the first couple inches to be unusable. Make sure you consider this when measuring your walls and calculating how many rolls to order. My wall length was 8 feet so the 10 feet roll left me lots of extra room. Also, as mentioned when I purchased the vinyl it was only $7 (actually $6.80) but I have seen it for sale for as little as $5.50 and up to around $8.

Step Two: Cut the Stripes
This part is pretty simple. Either use a measuring tape and cut the vinyl to length or lay it flat on the floor by the wall and cut to length. I found that adding a little extra length is a good idea. It is much easier to use a box cutter and cut off the extra then to add a small section if you happen to be too short. The back of the vinyl also has lines which makes it easy for a straight cut.
Step Three: Place on Wall
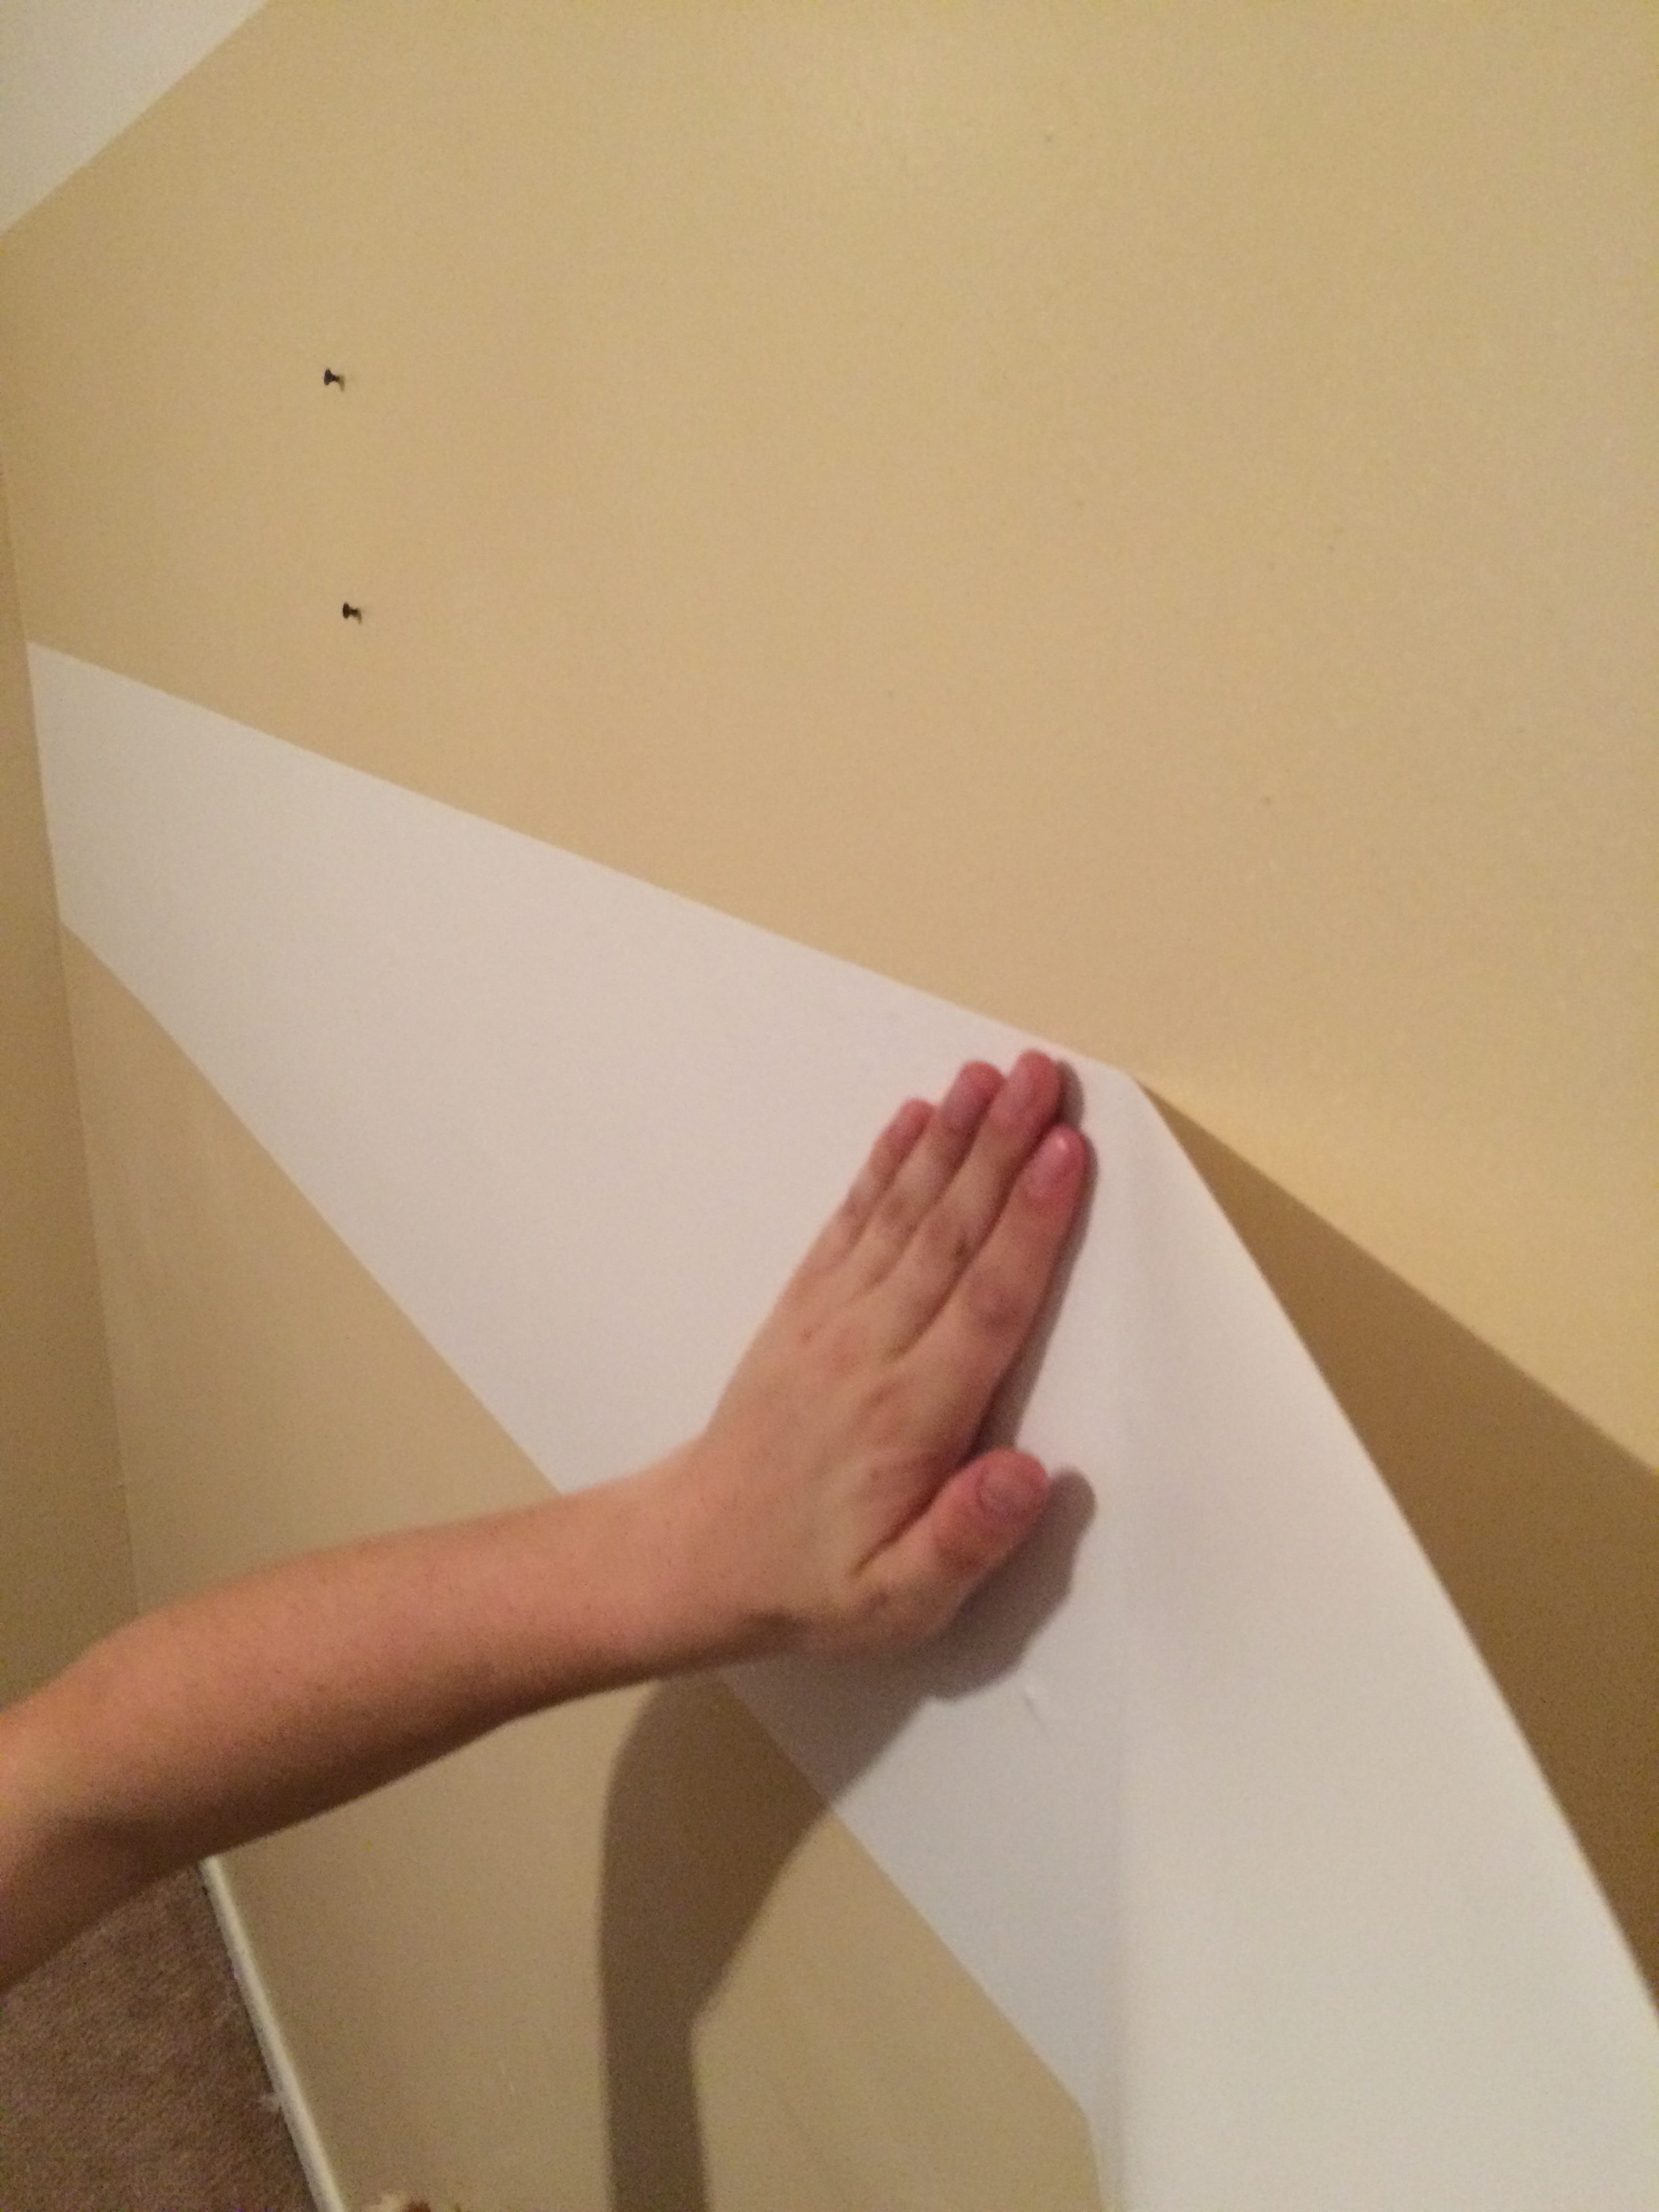
For this step you will absolutely need a second set of hands. We tried two different techniques. The first attempt we had one person on each end and then removed the backing on one side and smoothed it out on the wall while simultaneously pulling the backing off as we went. This did not work well for us. We kept having to pull the vinyl back off the wall because it was not going on even. On the next two stripes we removed all the backing first. Each person had a side and held it at the desired height. We placed it on one side of the wall and smoothed it out using an open flat hand in downward motions (as pictured below) slowly moving forward to the other side of the wall. The trick is to have the person holding the side that is not on the wall as close to the wall as possible without it sticking to the wall. This really helps limit air bubbles and creases. The best part about this vinyl is that you can remove it and stick it again and again if you mess up. So if you are going forward and creases happens don’t panic, just pull it back to the problem area and try again.
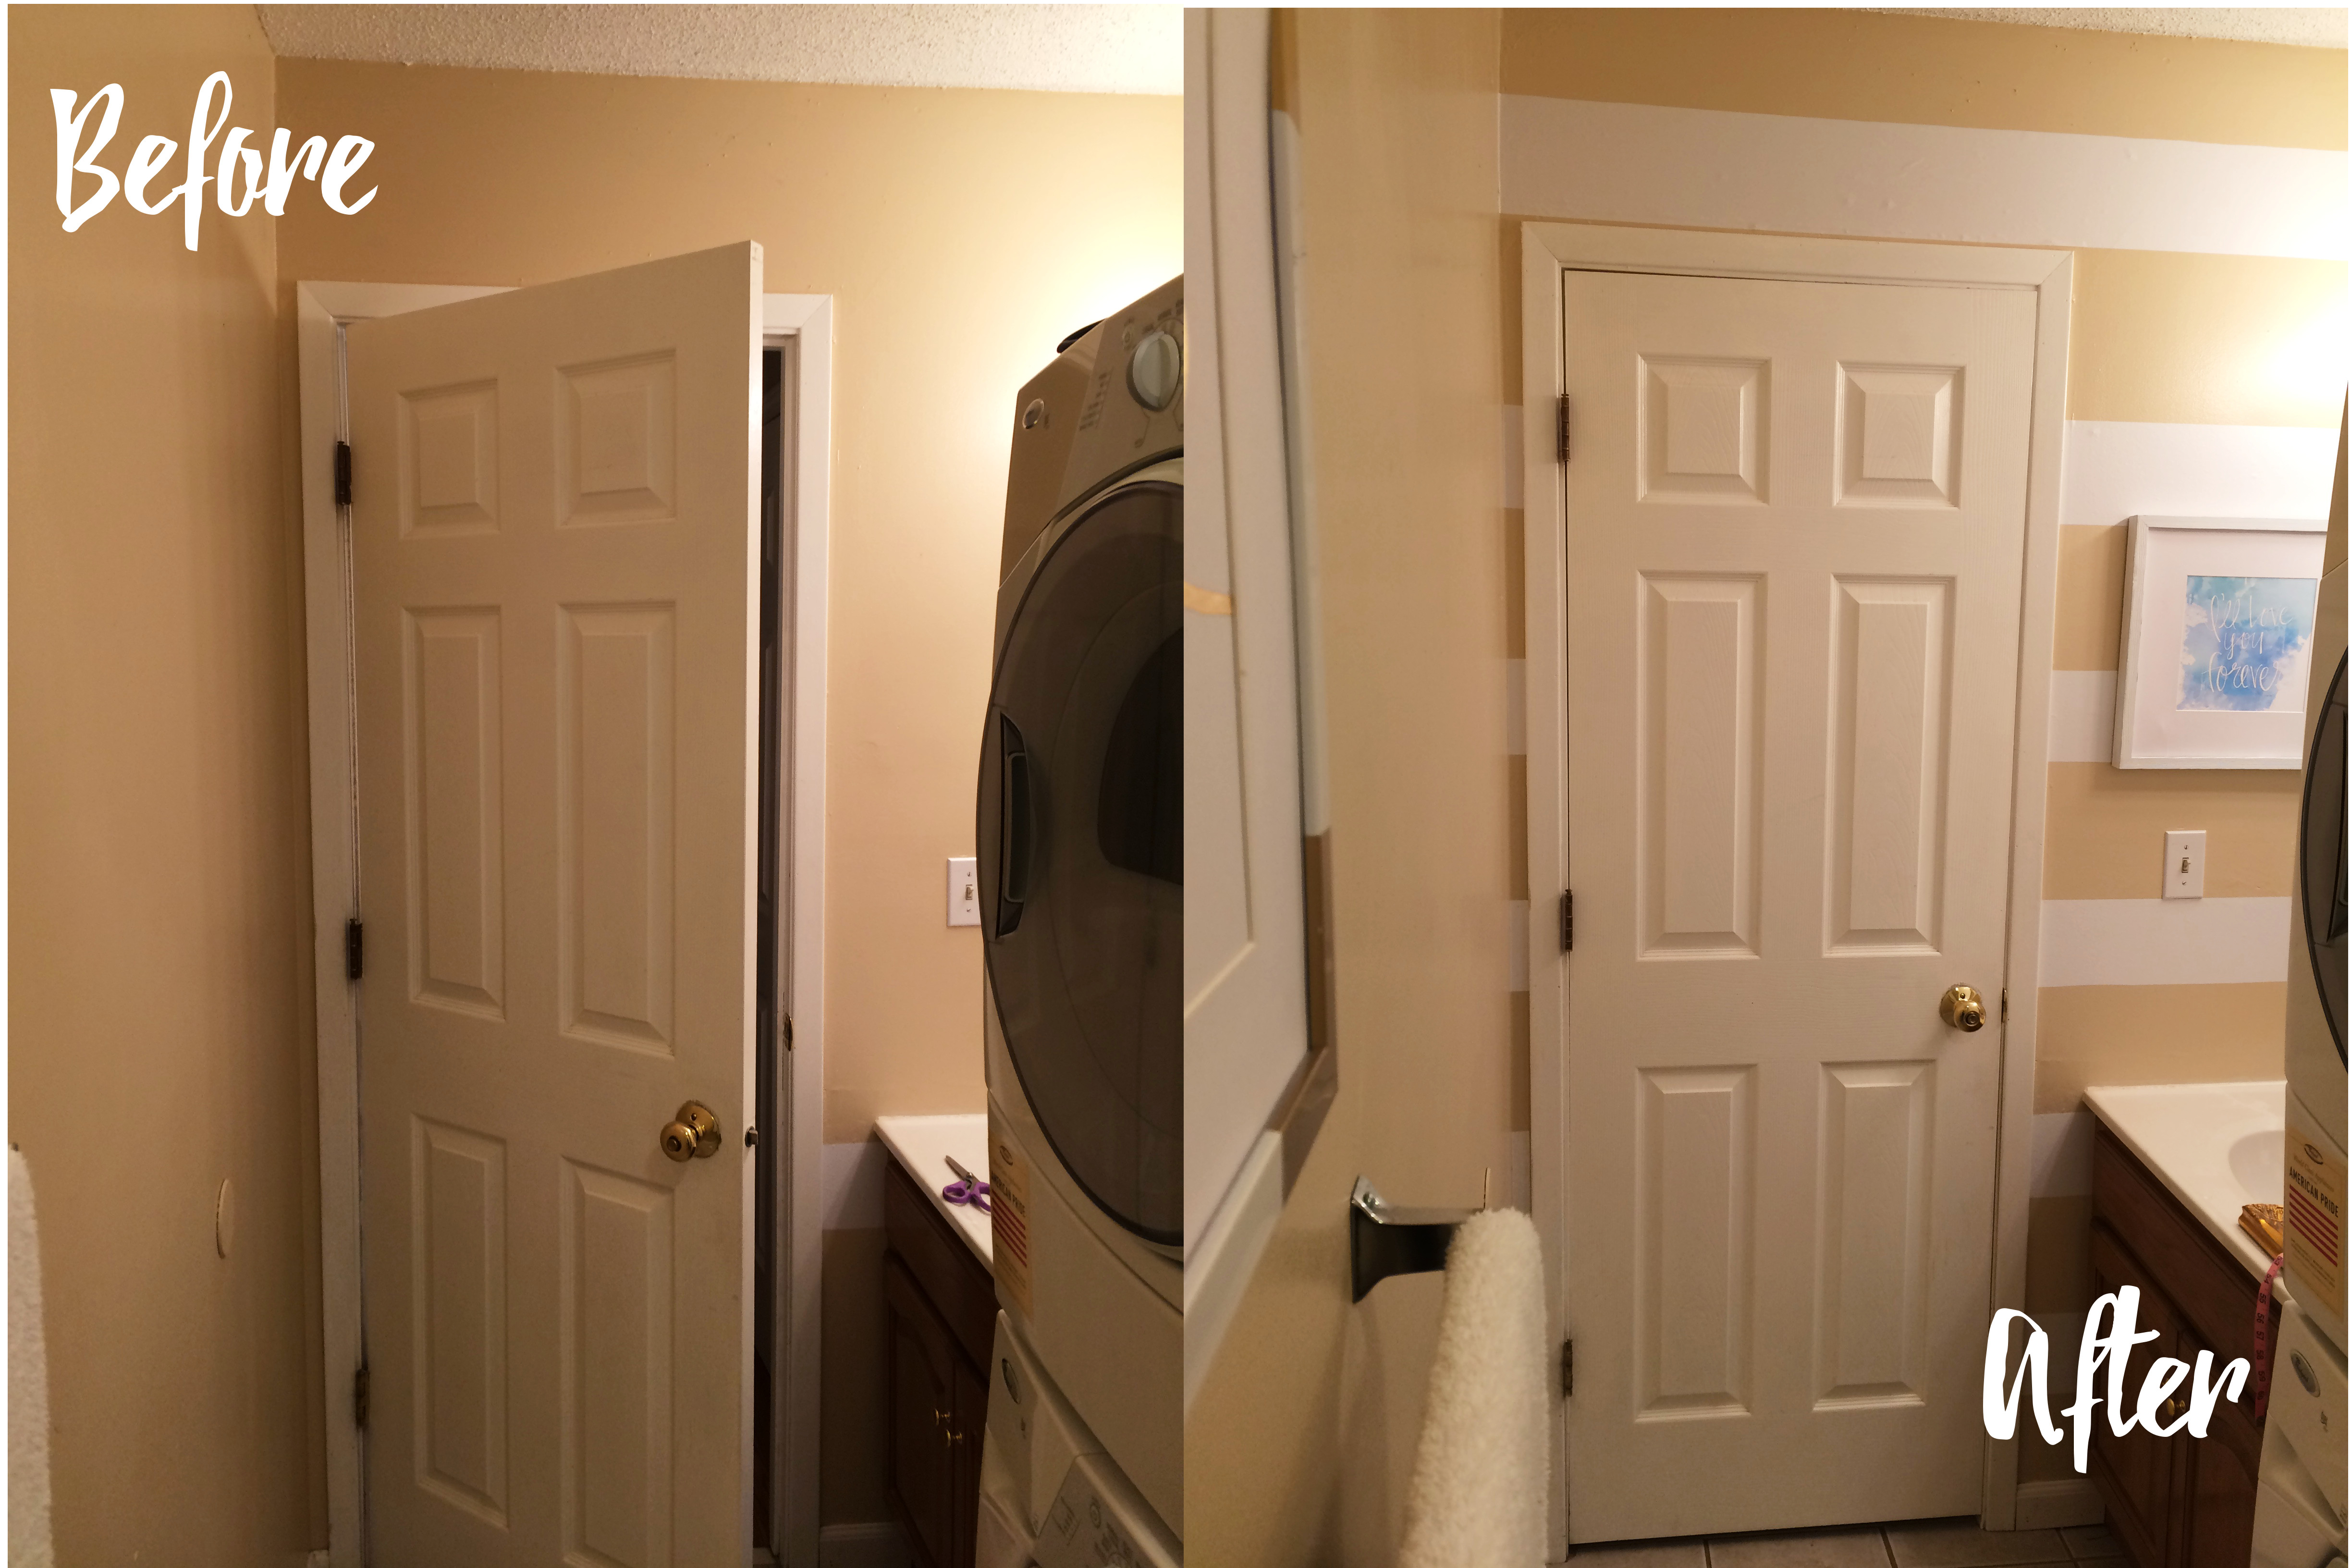
And that is it! After striping my little boys bedroom wall I decided it would be fun to stripe a small bathroom wall. This project was very easy and I was able to do it by myself in a about an hour. I also wanted thinner stripes so I bought one roll of vinyl and cut it right down the middle to make 6″ stripes instead of 12″. This is easy as there are lines for strait cuts on the back. It also allowed for my bathroom wall to have an adorable makeover for only $7 since you can get double the stripes by cutting it in half.
I love my striped walls, and I love that they are removable with no residue. It’s so easy that even if I did not live in an apartment I would prefer this method over paint since it’s cheaper and versatile. There are so many other ways you could stripe your wall as well. I’ve been considering vertical and diagonal stripes but you could also try chevron or a mix of thin and wide stripes. The possibilities are endless, so hurry and start transforming your walls!