Making papyrus paper for art projects is going to become something we do often. It was so fun and the end result is even better. We are going to change things up and try new things on the next go around. This post is going to walk you through all of that. We have learned a lot about the country of Egypt this last month. Making papyrus paper was just one of the many things we learned about.

I would love to get a real papyrus plant so we can make real papyrus paper. Life goals right?? HA HA This papyrus paper makes a perfect background for all of your art masterpieces. You can even make your own ink to draw with.
Here is what you need
- 3 brown paper bags (lunch bags) per person
- School Glue – I buy this stuff in bulk 🙂
- Wax Paper
- Water
- Scissors
- Paper Towels
- Aluminum Foil
That is all you need to create your own papyrus paper for your future art projects!
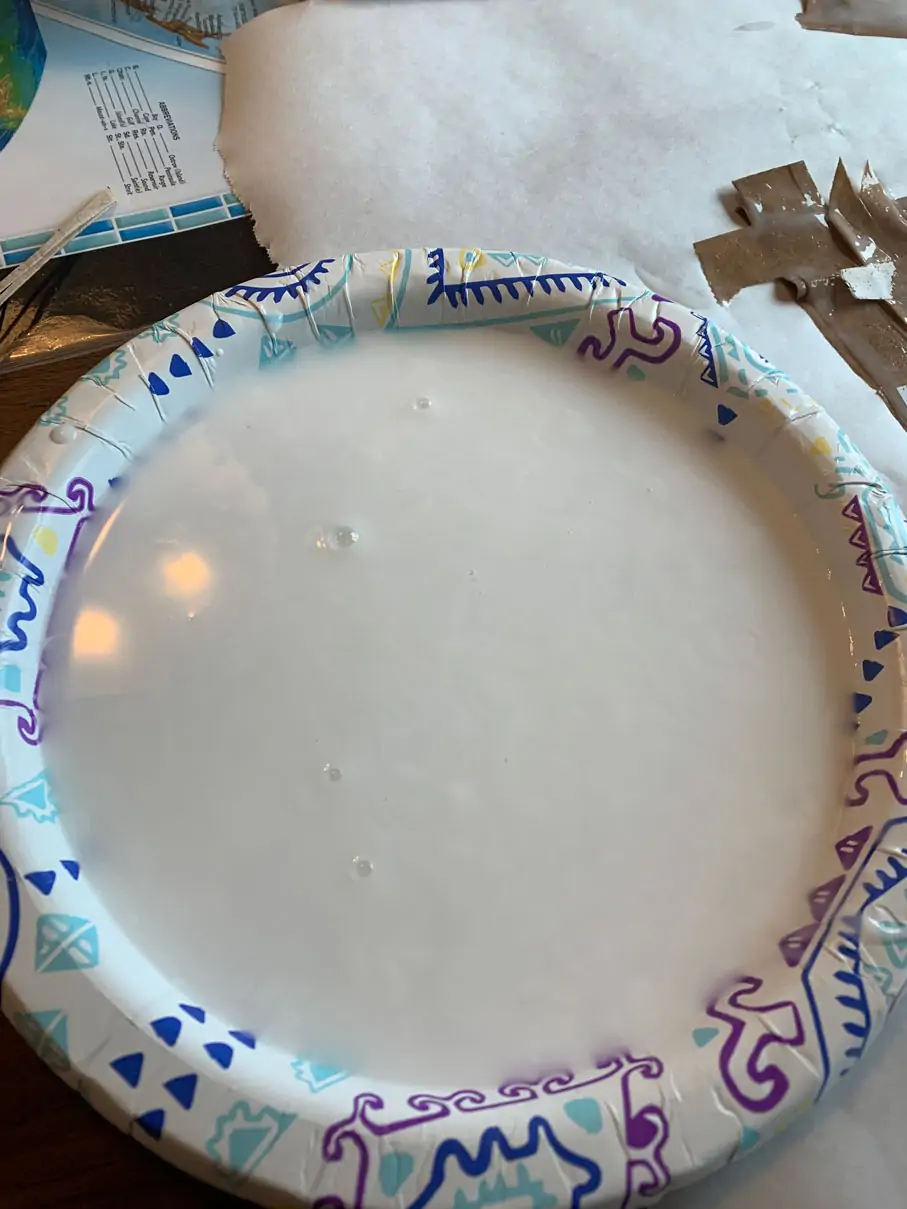
Step #1 – Mix 1/4 cup of glue with 1/4 cup of water
This mixture will be enough to make one papyrus paper, so if you have 4 children than do 1 cup of each. Use a shallow bowl to make dipping a little easier. We used paper plates with curved edges which worked fine however, it was a pain transporting them from one place to the next.
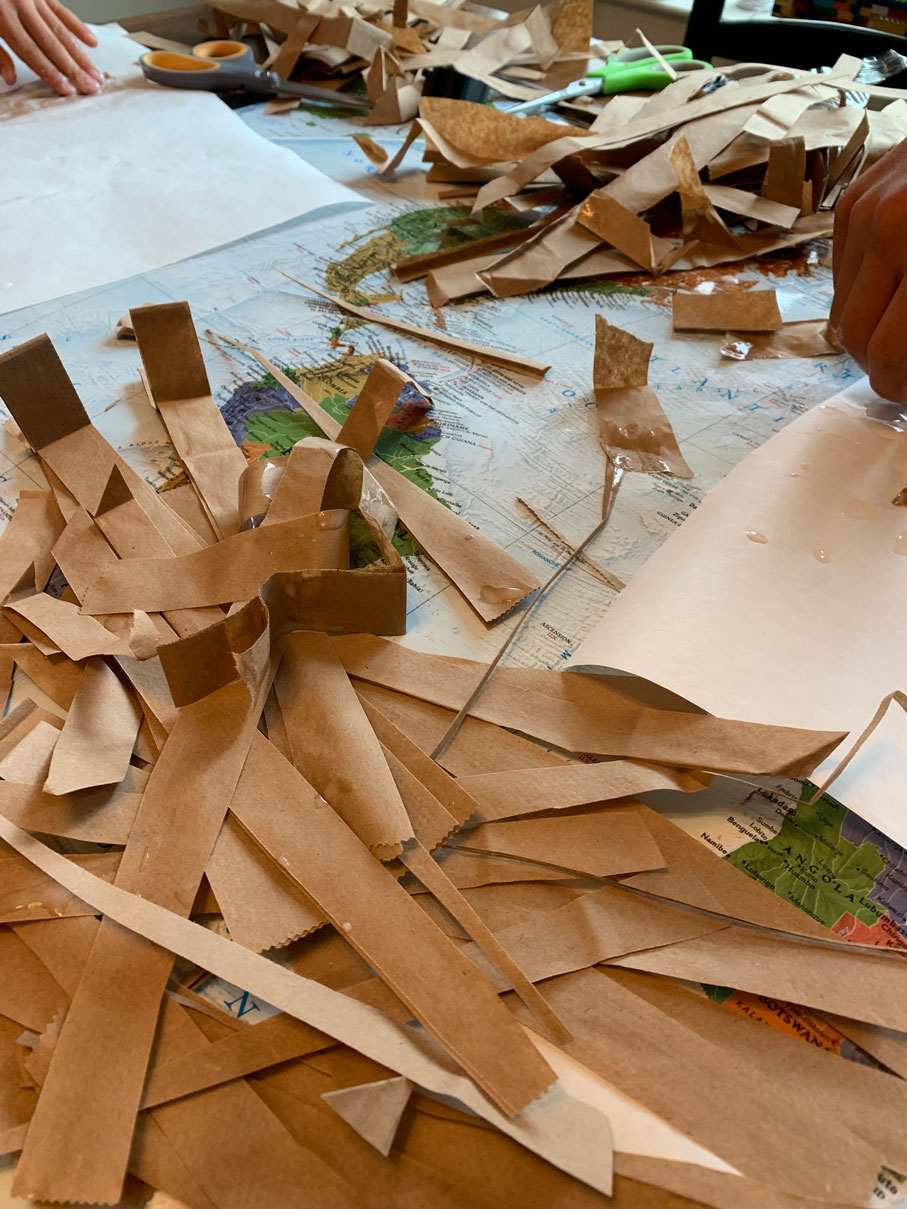
Step #2 – Cut up your bags into 1 inch strips.
We made our paper the same height as the paper bag. You can choose and be creative.
Step #3 – Lay out wax paper and place glue and paper close by.
Step #4 – Take a strip of your brown paper bag and dip it in the glue.
Completely immerse the strip in the glue and using your fingers, slide excess glue back into the bowl. You don’t need it dripping with glue.
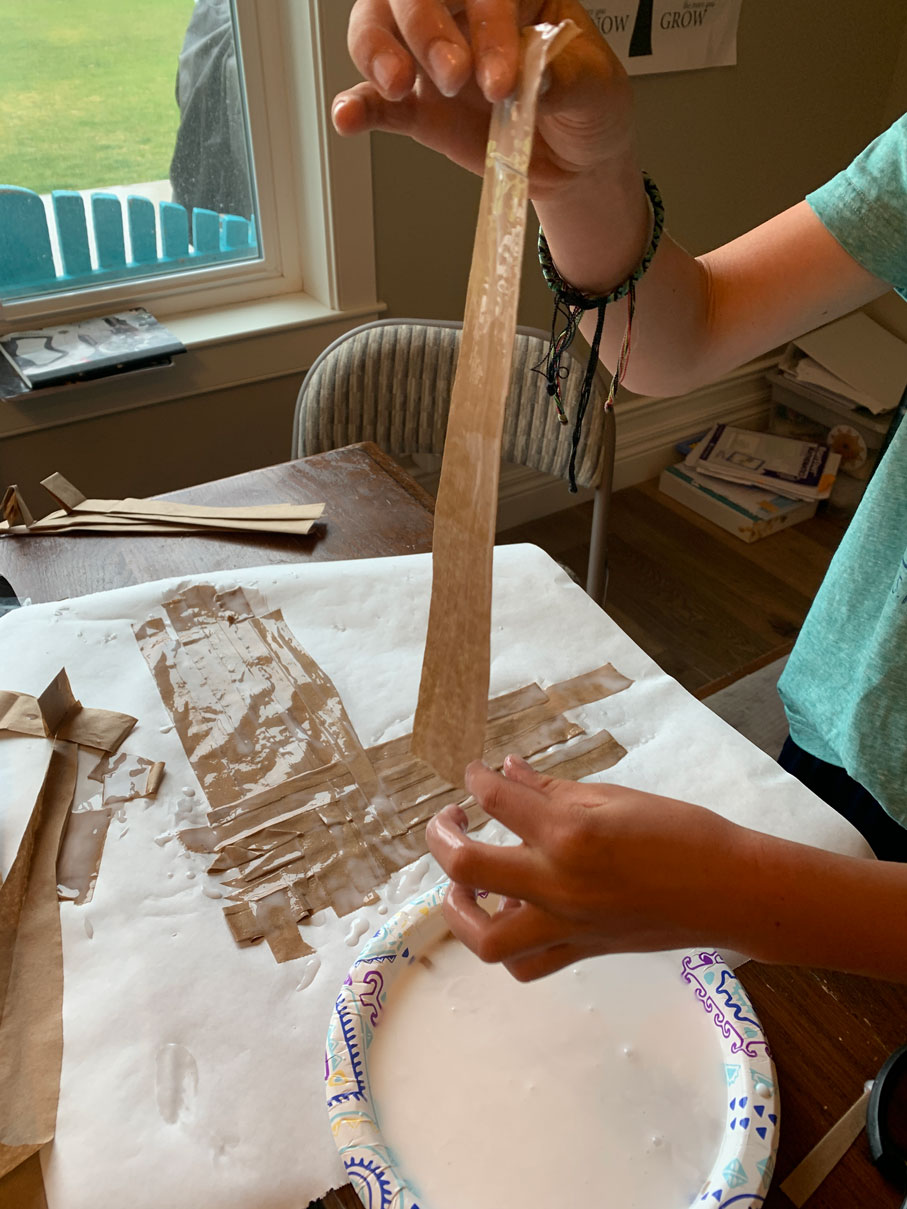
Step #5 – Lay your strip vertical on your wax paper
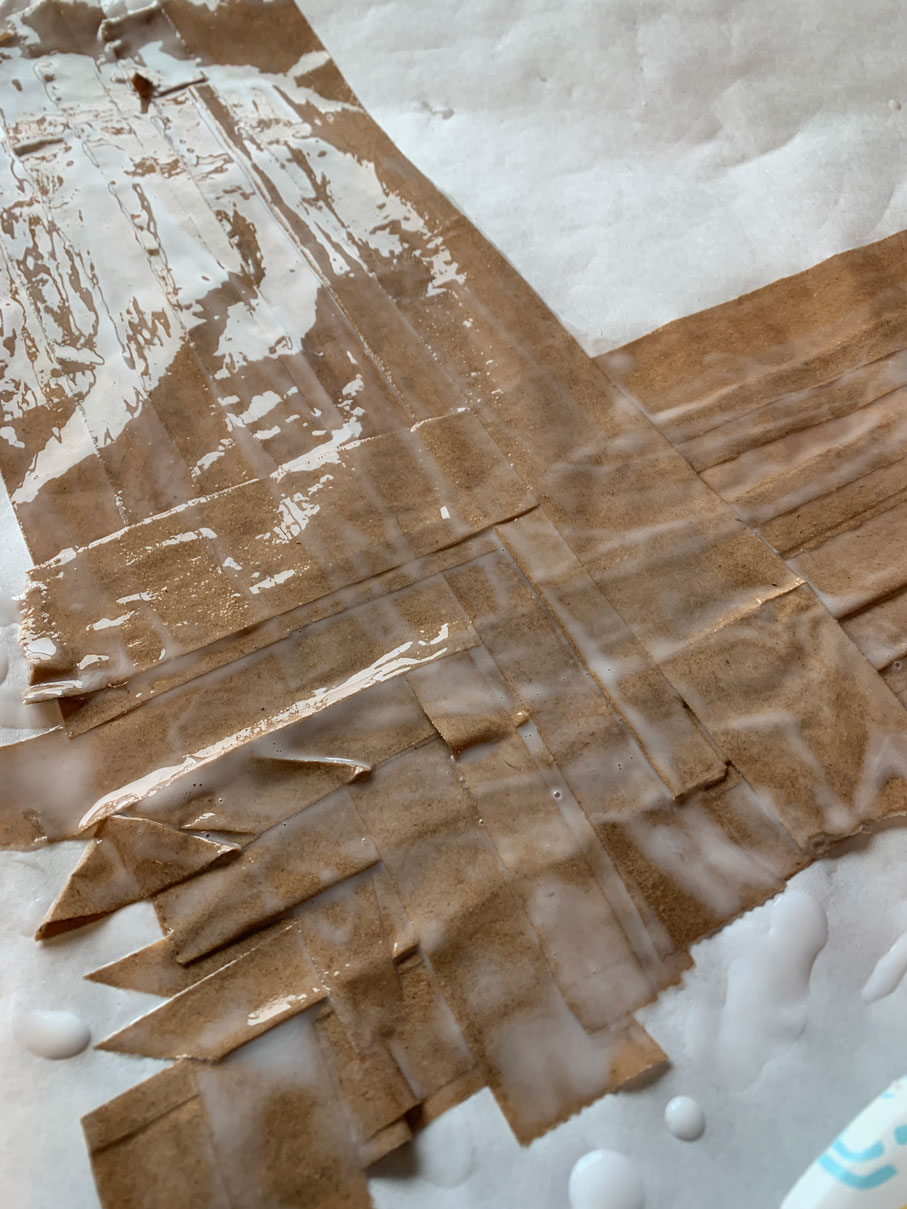
Step #6 – Repeat step #4 but lay your strip horizontally on the bottom or top end of your previous strip.
You will alternate the strips like this for the remaining strips. One vertical, and then one horizontal.
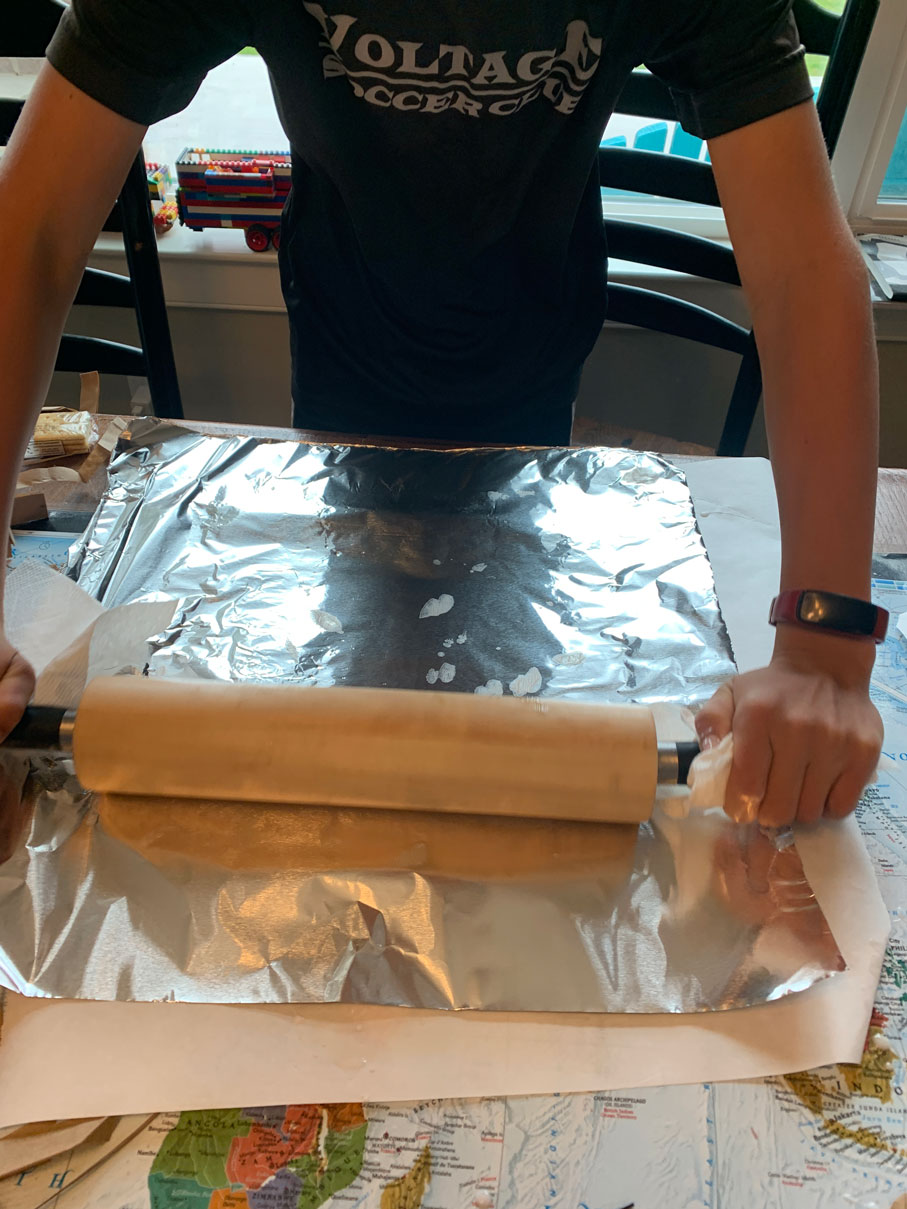
Step #7 – Once you have all of the strips placed you are going to smooth it out with a rolling pin.
To do this we found this method to work the best. Get a paper towel (the size of your papyrus) and lay it on top. Get some aluminum foil and place it over the paper towel. Using a rolling pin, roll over your papyrus paper several times. Be careful when you pull it up, some of the corners will want to come up with it.
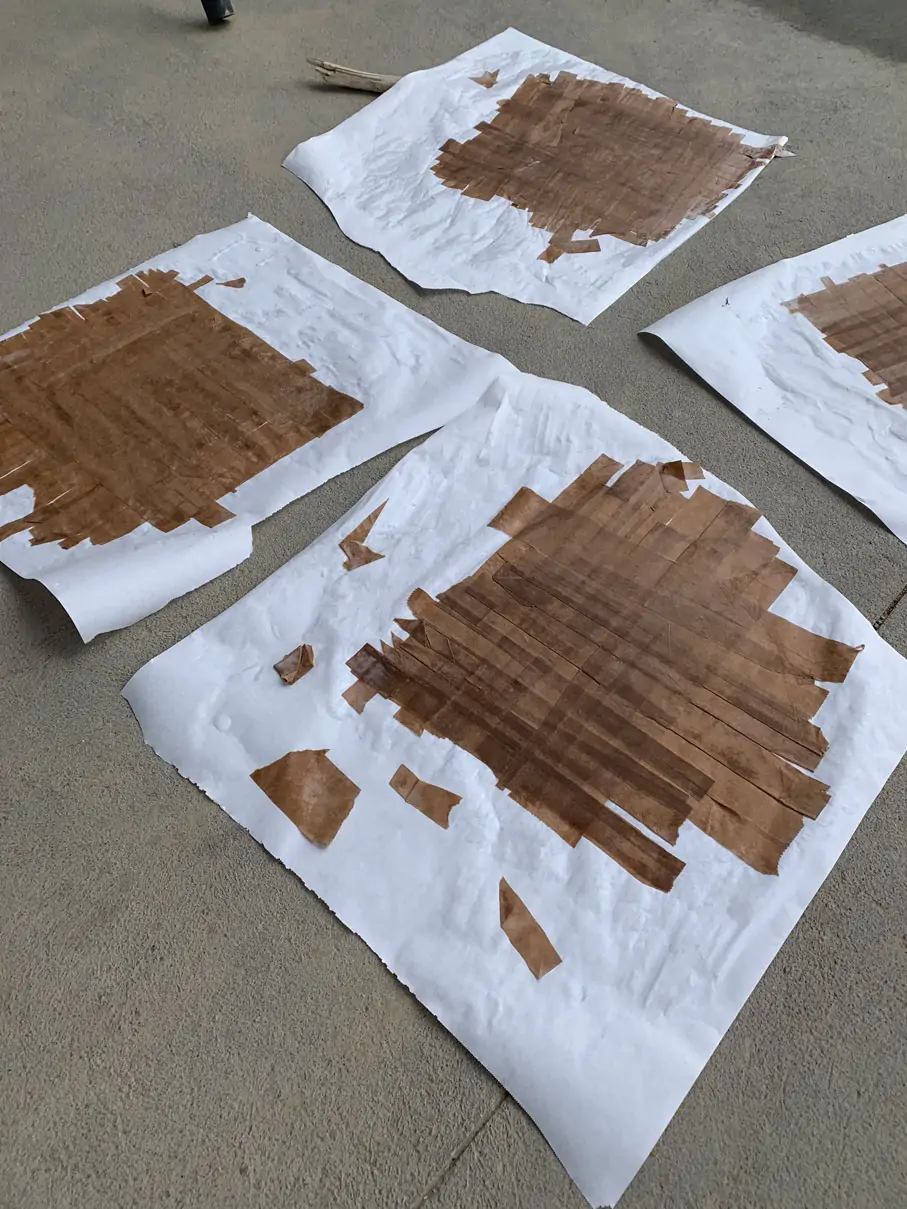
Step #8 – Let it dry
You can leave the wax paper on and just cut around it, but you might be able to peel it off. In the picture below, we used freezer paper and it wouldn’t separate.
We have heard some people using just sugar water as the glue, because the natural sugars are what glues natural papyrus together. We will try that next time.
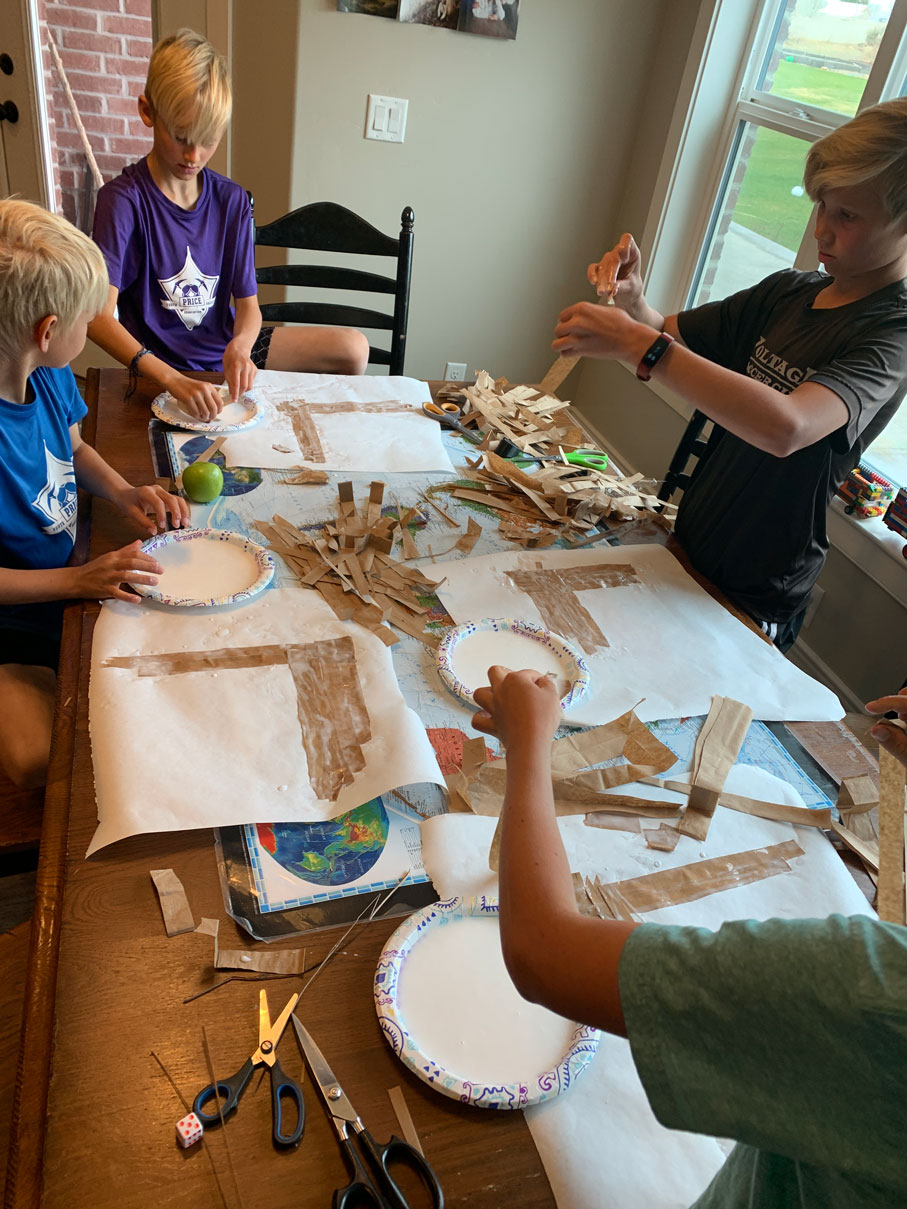
After it drys you get to create some kind of art master piece. I had two boys who went with the Egyptian theme, while the other two went with quotes. The possibilities are endless!! Here is a link on how to make another form of paper that is also very fun!
After you do this project once, your kids will be able to do it again without much assistance. This makes for a perfect activity to do while you read to them.
HAVE FUN!
Homeschooling can feel overwhelming, and it’s easy to doubt yourself along the way. I help moms turn that stress into confidence, calm, and joy — and my coaching program includes access to a free workshop that walks you through the first steps. Learn more and save your spot →