We have been learning about Asia and different explorers this month. As we read about China, we learned that one of the most important inventions that was created came from ancient China. That invention was simply paper. Paper is so common that you don’t really every think about how it is made or how it was created. You just expect it to be there. This post is going to teach you how to make your own paper.

The ancient Chinese made paper out of plants like bamboo, hemp, wheat stalks, and even rice. Modern day paper is made out of ground up wood which is called wood pulp. This pulp, or fibers, are mixed with water and placed into a mold with a mesh screen to drain the excess water. The paper is then left to dry.
Even after paper was invented in ancient China, people still would write on pottery, silk and even turtle shells because the first types of paper were very coarse and difficult to write on. After time and trial and error, they were able to create a better product that was used in schools, governments, and businesses.
This process of making paper can become an experiment of finding what works best. Don’t be afraid to try different materials as you make your own paper. We tried sawdust, but found that it would blend into smaller chunks, so it didn’t work very well.
Here is what you need to make your own paper
- Newspaper, laundry lint, old magazines, paper you were going to throw away, etc. (Recycled materials are fantastic)
- Water
- Blender
- Flowers or pieces of fiber for color
- 2 piece of a window screen (10×12) – I cut mine out of an old window screen that we weren’t using.
- An old plastic picture frame
- Hot glue gun
- Sponge
- Dish Towel
- Some kind of tool with a flat edge (like a mudding knife, or pastry scraper)
Step #1 – Cut or tear up your material that you have chosen to make your paper out of.
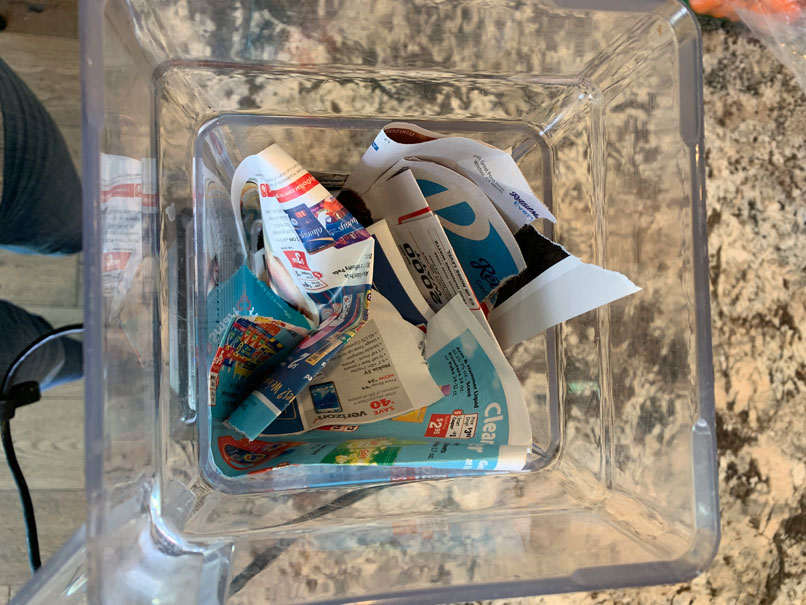
This could include: paper, magazines, newspaper, laundry lint, plants, etc. Fill up your blender about half way with these torn up pieces and then fill the rest up with warm water.
Step #2 – Beginning blending slow and then turn it up to a higher speed until you get a smooth substance.
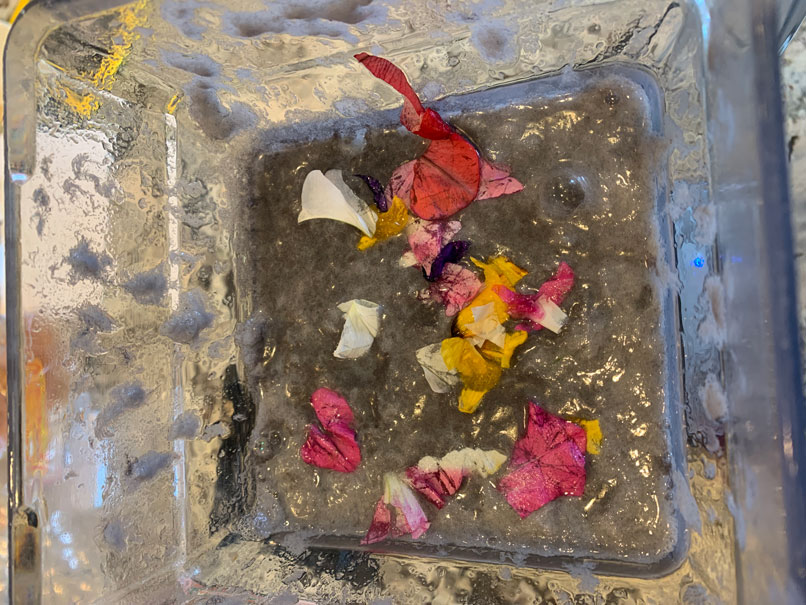
There shouldn’t be any larges pieces remaining. At this point, add flowers, seeds, yard or anything else you would like to accent your paper with. We used flower petals and it turned out really pretty.
Step #3 – Take your picture frame and glue your window screen onto the back side of the frame.

Once dry, place your window screen frame face down into a sink full of water. The frame will float on top of the water.
Step #4 – Add your blended mixture
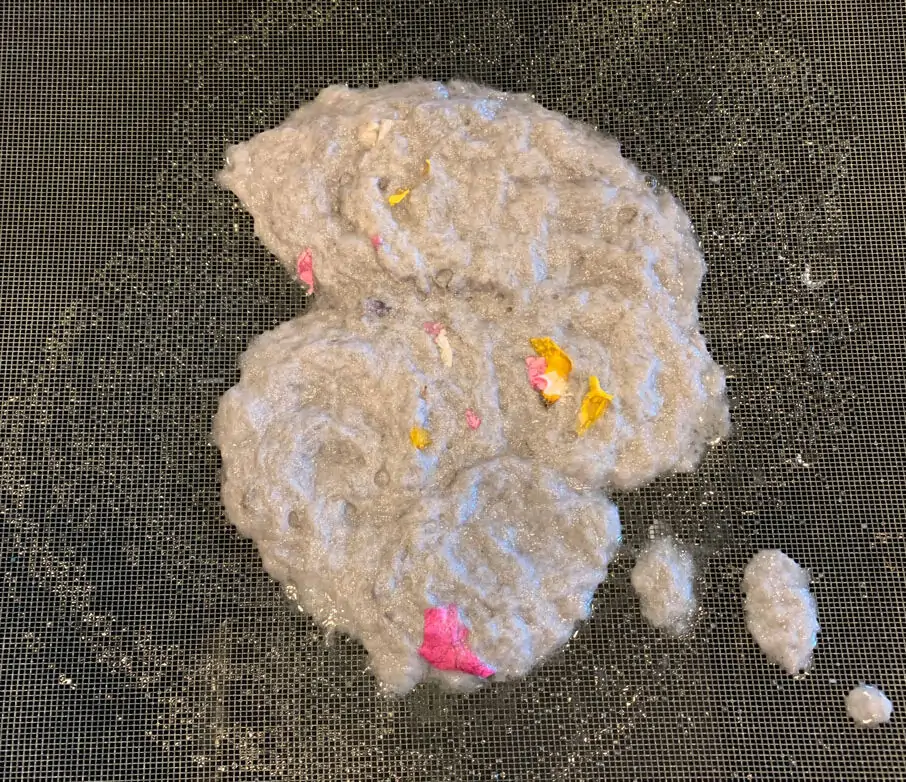
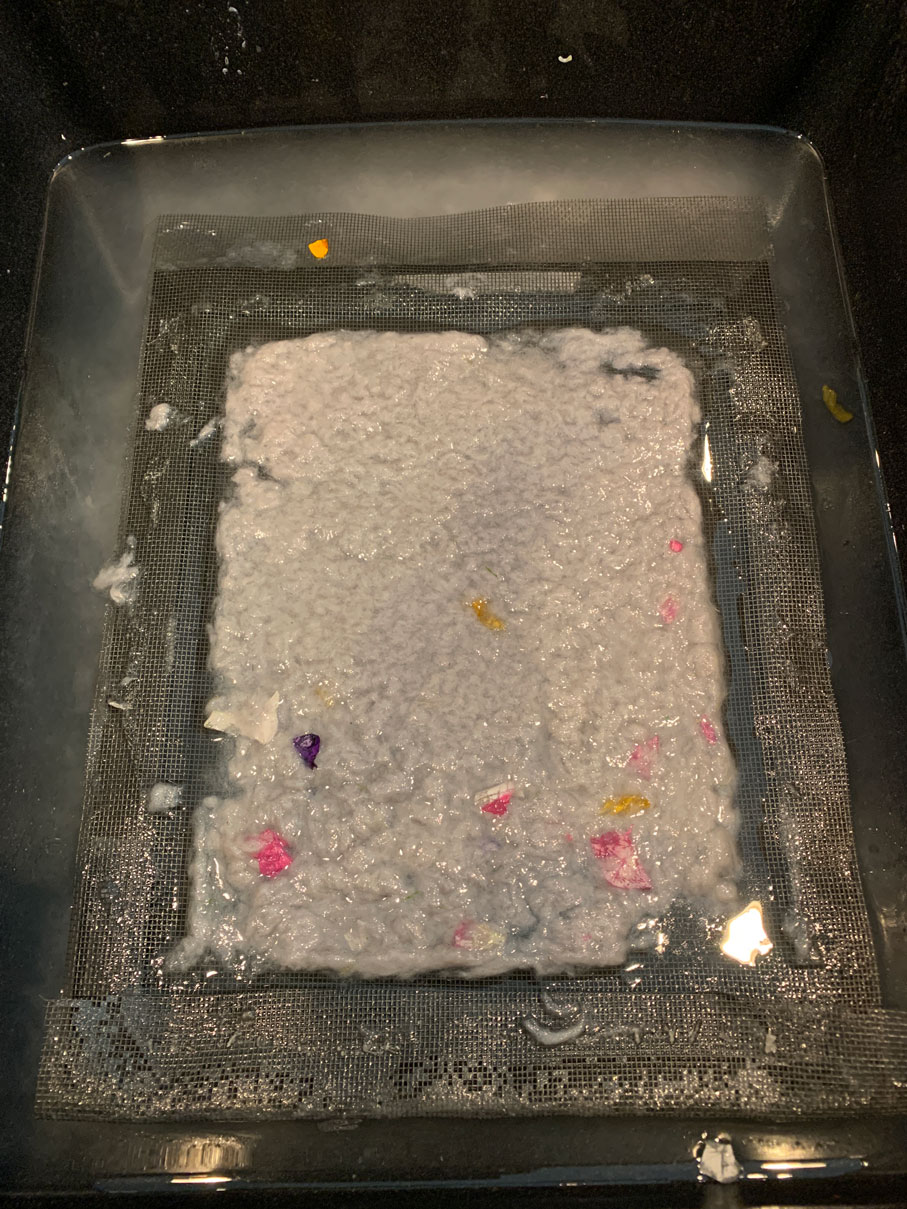
Pour some of your mixture onto the screen. Move around the frame in the water to create a thin layer of your blended material on the screen.
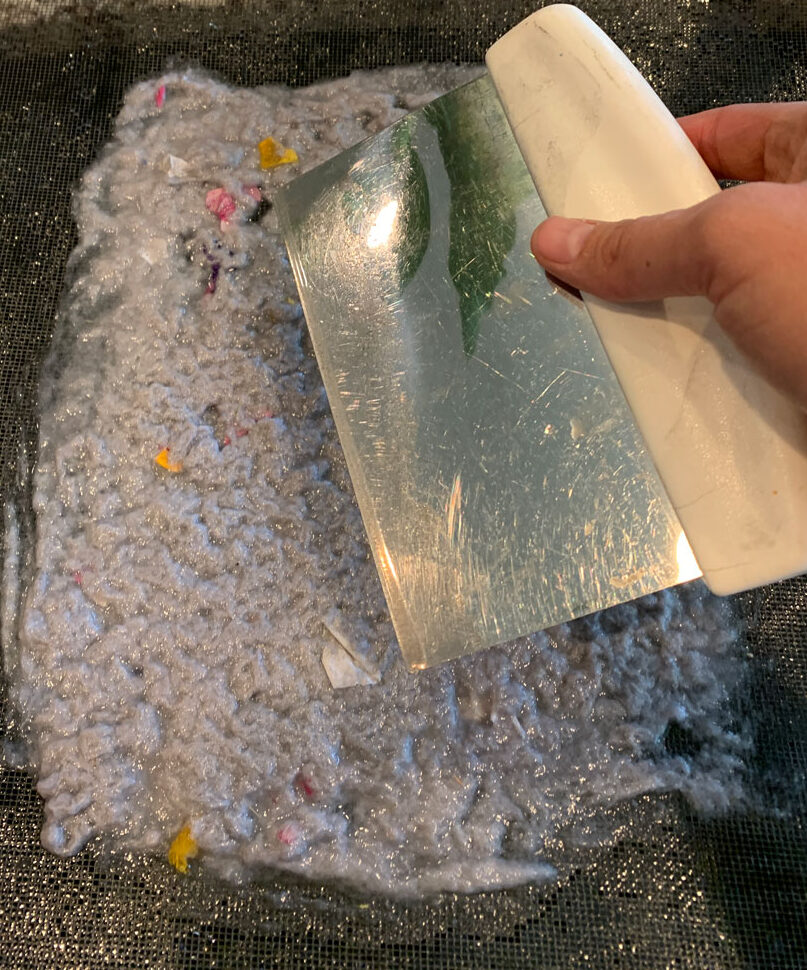
Step #5 – Using your flat edge tool, smooth the blended material around to create a smooth, flat surface.
Step #6 – Place another screen over your flat, blended material and lift the frame out of the water.
Allow the water to drain for a little bit.
Step #7 – Flip the frame over
Your paper will now be on the screen without the frame. Place the screen and frame onto a kitchen towel to help soak up some of the water.
Step #8 – Using a sponge, begin removing excess water from the paper by pressing firmly on the paper.
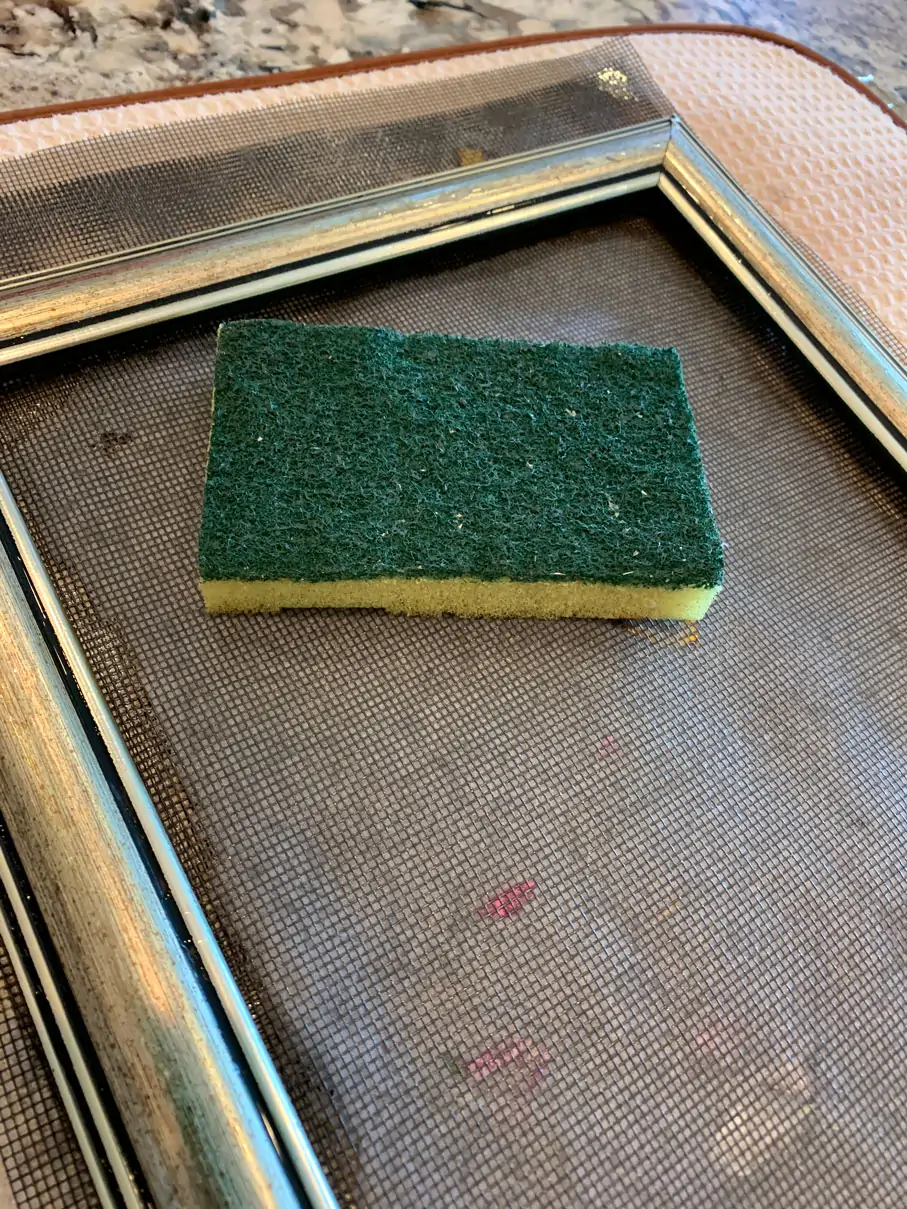
Keep patting until you get most of the water out. Don’t rub or move back and forth on this step. Just press firmly down and then move to a new spot and repeat.
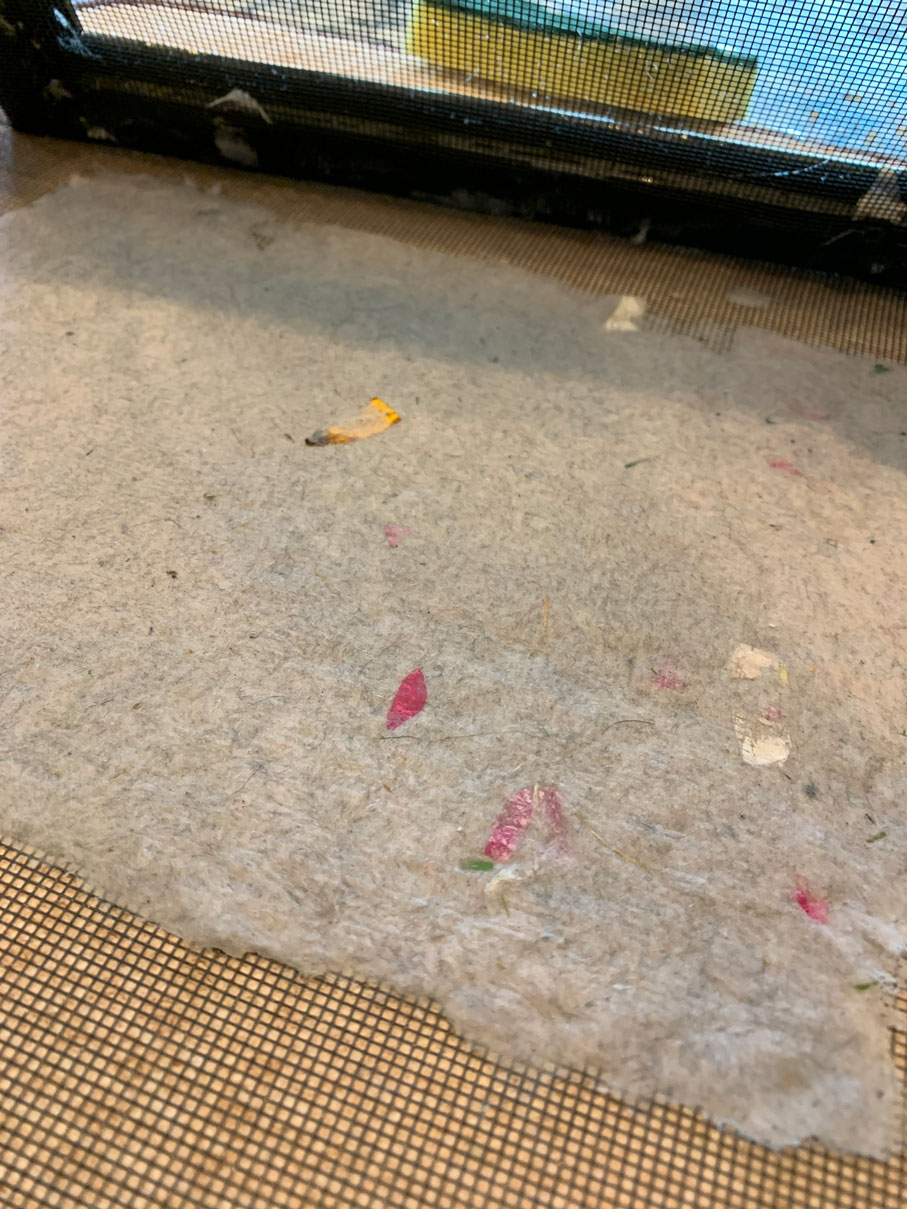
Step #9 – Remove the frame and allow to dry

Once you get most of the water out, you can now take off the frame and place the paper, and screen it is on, in a place to allow it to dry. We placed ours outside in the sun, but make sure it isn’t too windy or it will blow it over and will ruin the paper.
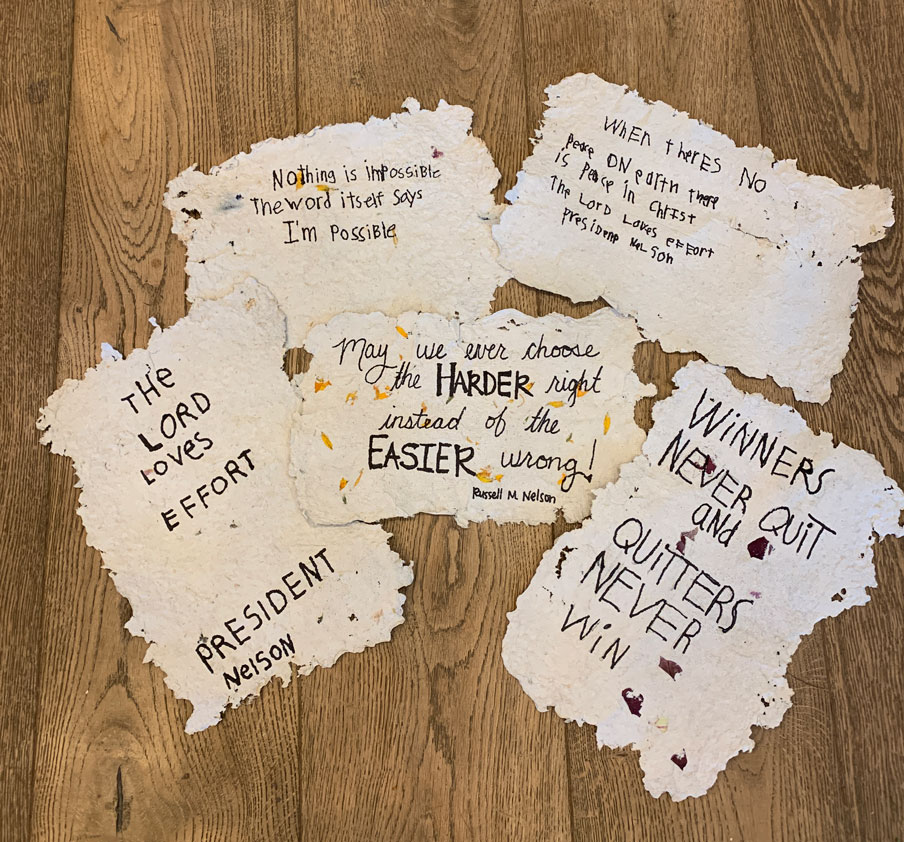
Step #10 – HAVE FUN!
Once it is dry, then the fun part comes in. Write a letter, copy a quote, or draw a picture on your new piece of paper. My boys had so much fun with this project. You can also make your own ink and use that ink to write on your homemade paper!
The opportunities are endless. Have fun with this project! Experiment and try different methods. The end result is so fun!
One Response