Are you looking for easy to make & remove seat covers? Seat covers that are not only simple to create, but seat covers that are also easy to remove, wash, AND put back on?? You have come to the right place. After trying a couple different ways, this method is the easiest method I have tried yet. Easiest for making, putting on, taking off, and putting back on again.

I remember making a cover for our window seat many years ago and when I put the cover on, it was a NIGHTMARE! Seriously! I was sweating, my fingers hurt so bad from it rubbling on the material repeatedly. It fit like a glove and looked fabulous! However, it is in need of a good cleaning and I can’t get myself to remove it to wash it (this will be my next project).

I had this idea when I was watching an ad for some chair covers that slipped on and off the chair so easily! The fabric was so pretty and it transformed the chair. That is when I realized I could do the same thing for my seat covers in my motorhome.
Have I convince you yet? If not keep reading and see how easy it really is. It is just like wrapping a present.
Materials you need for these Easy to Make & Remove Seat Covers
- Material of your choice – The size will depend on the size of your pad/seat. I like to get enough to wrap it like a present. You won’t need that much but I like to have that extra just in case.
- Scissors
- Sewing Machine and thread to match your material
- Safety Pins
Check out this video for a short tutorial
Step #1 – Lay your material so the right side is facing up
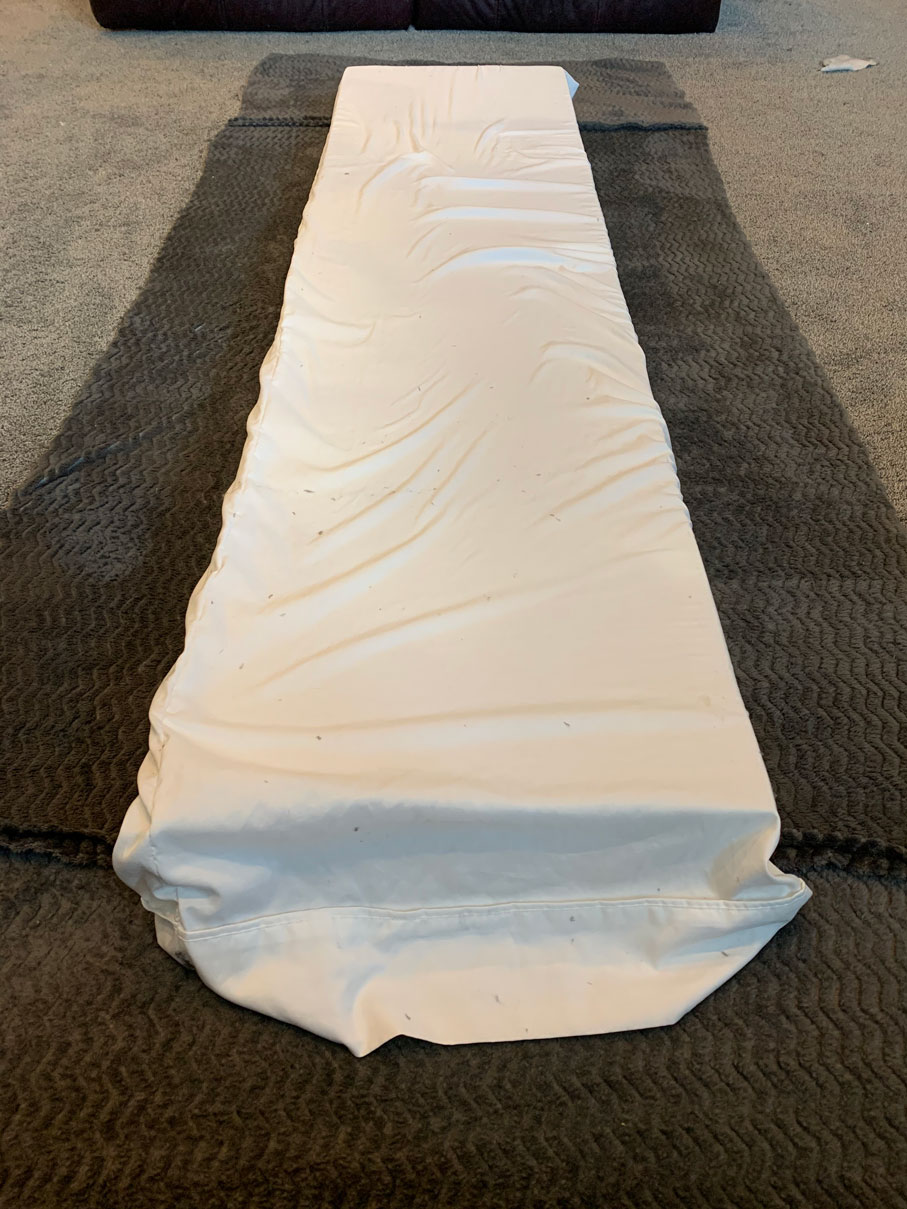
Step #2 – Place your pad so the top is facing down (Some pads don’t have a top or bottom. Our motorhome pads do)
Step #3 – Fold the material over the pad and cut the material to size.
I like to have 2 inches in between the two long sides.
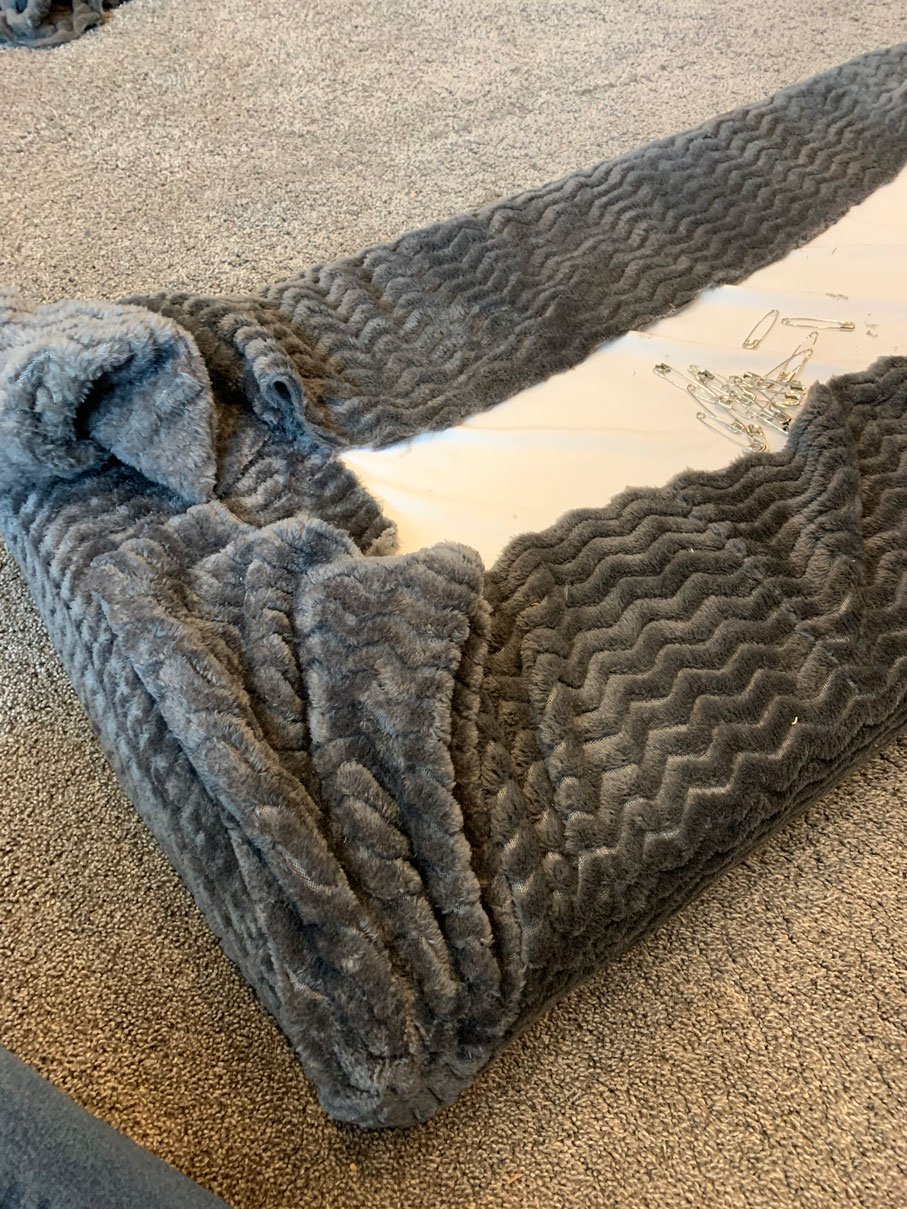
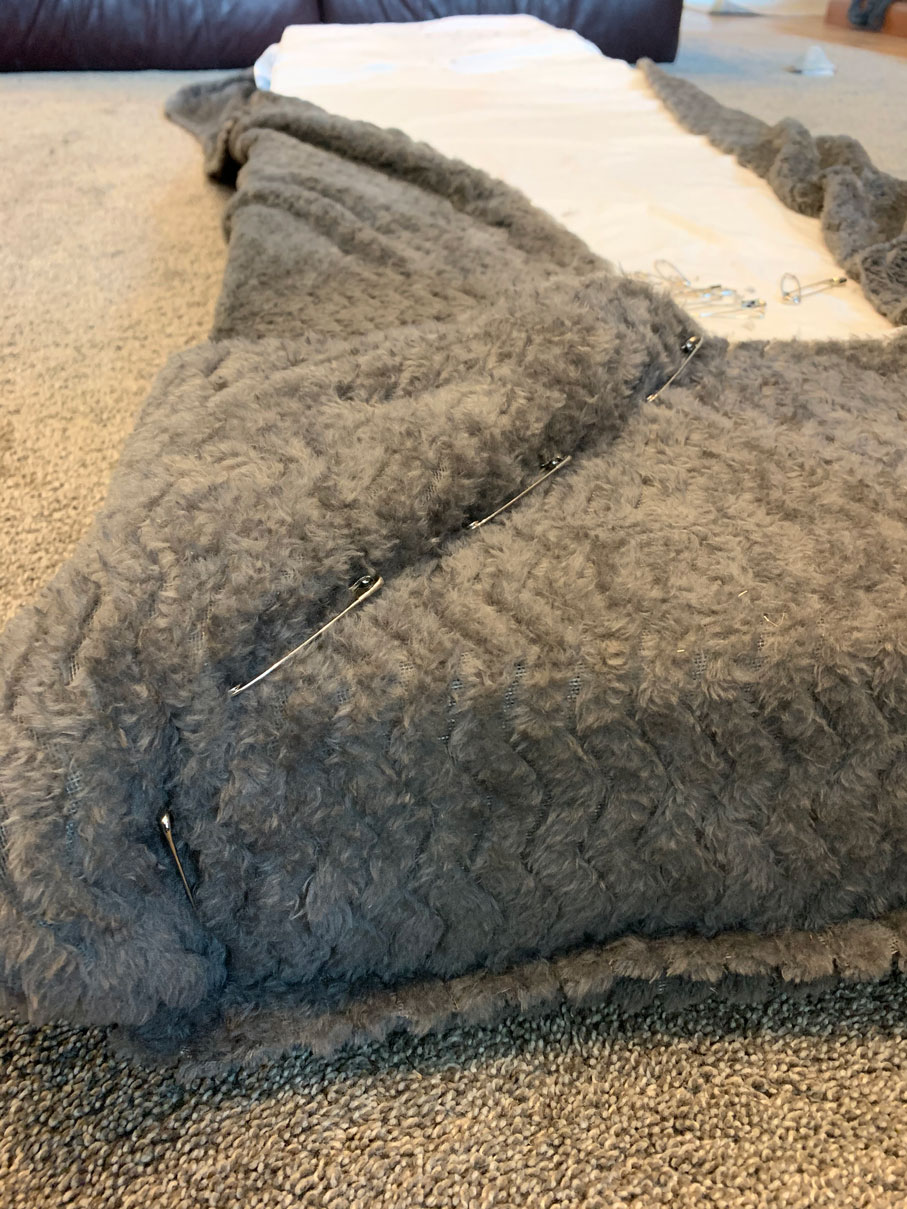
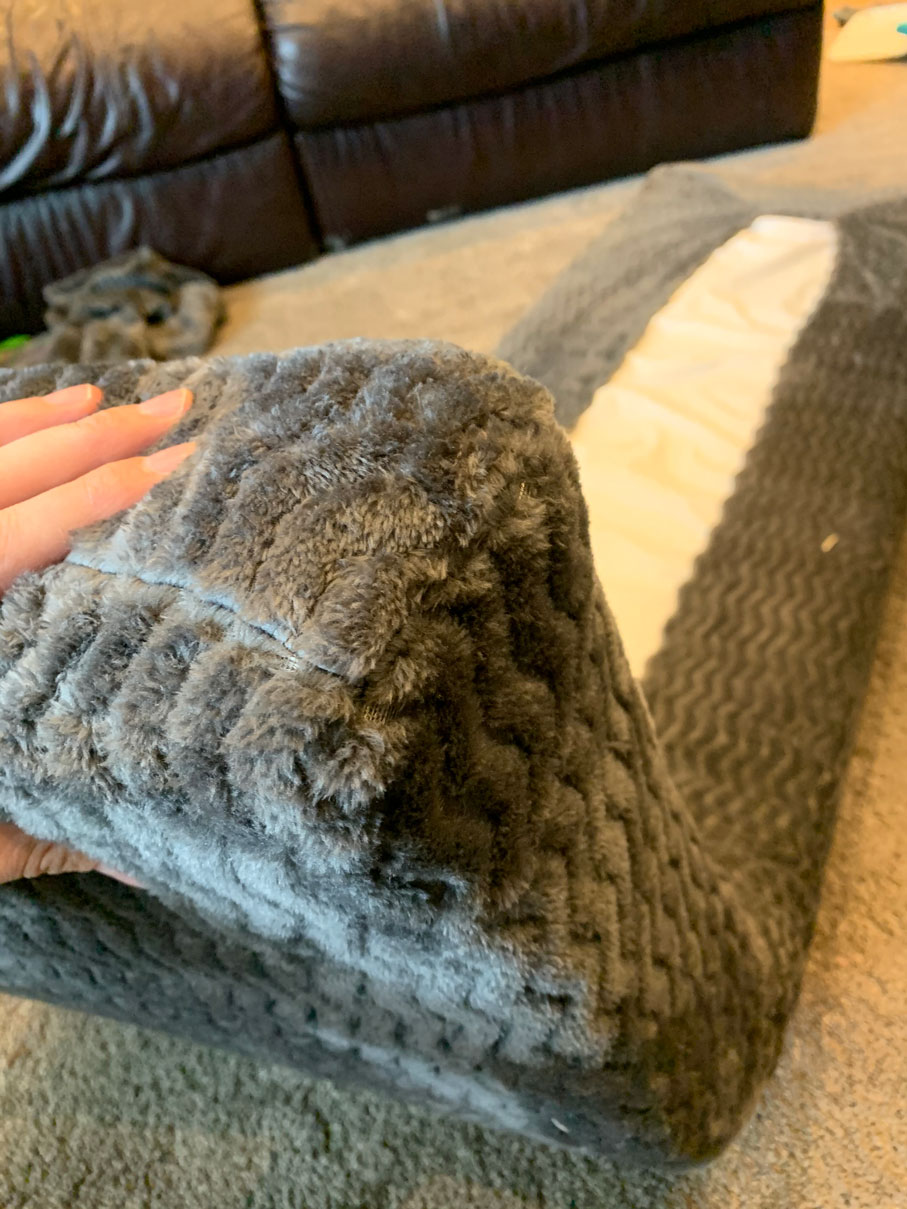
Step #4 – Grab a handful of safety pins and begin to wrap a corner of the pad with the material.
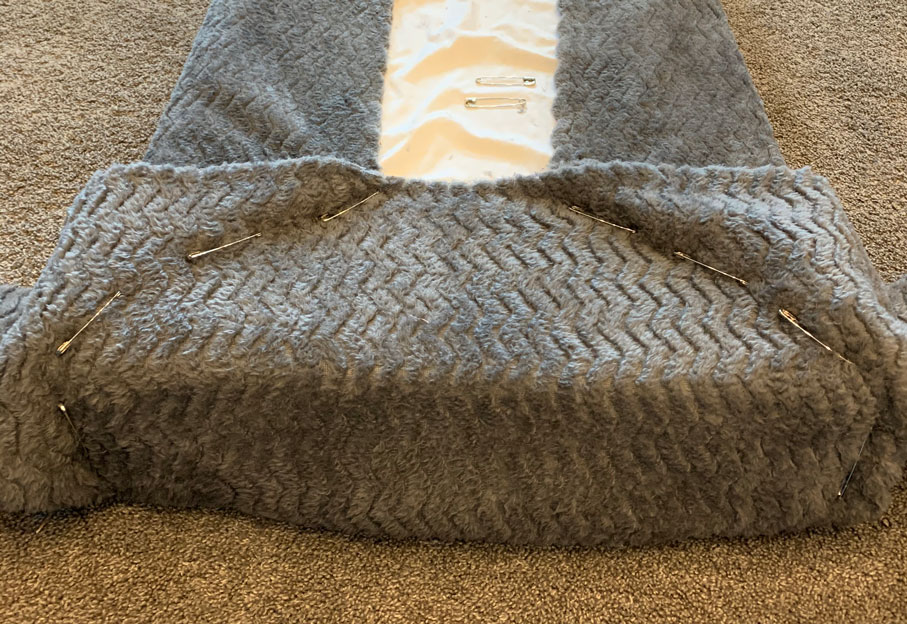
You are going to wrap the corner in a way that will make it all lay flat. Use your safety pins to pin the edges together. This part is key because you will follow the safety pin trail when you sew up the corner. I usually place one safety pin on the side edge and three on the back edge (making an L shape). Place the safety pin so it will be parallel where you want to sew.
Step #5 – Finish each corner, remove the cover, and head to the sewing machine.
Step #6 – Follow the safety pin trail and sew your corners together.
Don’t remove the safety pins until after you are done sewing. Sew your stitch on the side of the safety pins that is CLOSER to the pad. This will make a great snug fit and prevent natural stretch of the fabric.
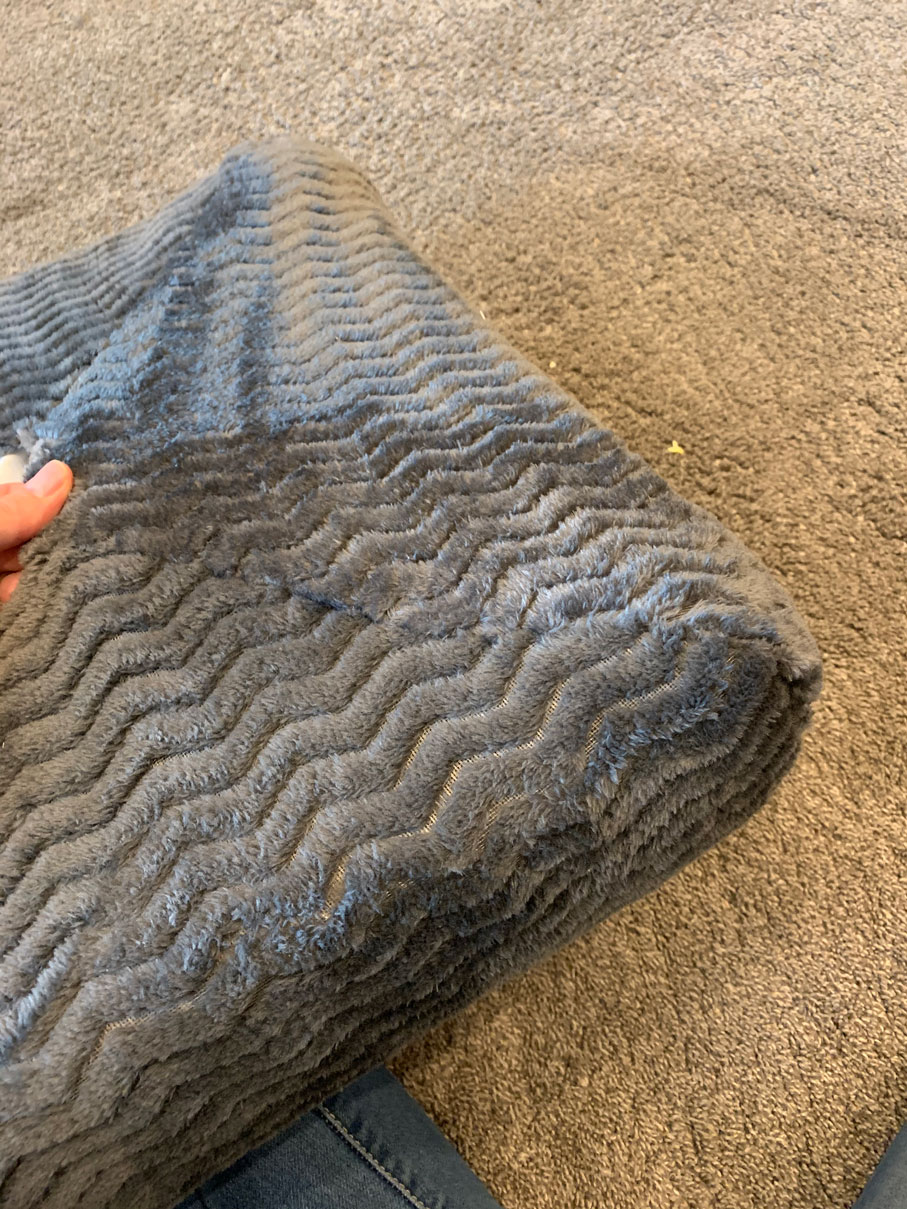
Step #7 – Test the cover on your pad to make sure it fits and the corners are snug.
My first pad I made, I didn’t make an L shape when I sewed making a very bunchy corner. I learned that when you are putting on the safety pins that you place them it a way that it shapes the pad itself. It makes the corners look a lot better.
Step #8 – Once you are satisfied with the corners, cut off the extra material so it lays flat.
Step #9 – This next step is optional depending on the size of you pad. Sew on elastic around the hole on your pad cover.
This will help prevent the back from stretch or slacking in ways you don’t want to. Especially if your pad is smaller. I prefer having an elastic, but you may not see a need. Simply buy some elastic and sew it on the wrong side of your cover. Make sure you stretch it as you sew it. 🙂
Step #10 – Enjoy your amazing covers!!
Enjoy how easy they are to put on and how easy they are to take off and wash. I had so many compliments on our new covers in our motorhome. They are super soft which is a huge plus too!
If you are covering a pad that does not have any kind of covering than make a pillow case for it first. I had a large pad and I just used an old flat sheet and wrapped it, pinned it and sewed it up. It was really easy to make. This will prevent little fingers from pinching and pulling the foam out from the pad.
For an easy, no sew solution to fix your kids unwanted holes in their jeans check this post out!!